Friday, September 6, 2019

Hoki Fish Nuggets


Recently I tried this Hoki fish from a local supplier - Hai Sia Seafood. Apparently this fish is used for Fillet-O-Fish and Fish & chips. Therefore I buy them to try at home! 

Today i cut into thin slices and marinate them overnight. Coated them and deepfry to make our own fish nuggets! Only flaw was I didnt fry them over high heat, so the crisp cannot stay long. But for a homemade version, I would say its good enough for the kids to snack on. And did I mention, I forget to add some salt. So my nuggets were not saltish but only tasted of the original fish! 


Texture is firm. Not too oily and its real fish! Try them! Perhaps I would try again over high heat to check on the crisp. Haha!

Hoki Fish Nuggets
300g Hoki, cut into thin slices
1Tbsp sesame oil
1Tbsp chinese wine
1tsp onion powder
1tsp ginger powder
Dash of pepper

Coat:
Cornflour, egg, panko crumbs

1) Prepare the fish as above, marinate overnight
2) Heat up oil, coat fillet with cornflour, then egg, then panko and deepfry
Only flip when u see corner of the fish start to brown
3) Fish is ready when both side is nicely brown. Serve warm to maintain cripsy

Thursday, September 5, 2019

Creamcheese Chiffon Cupcake


Need to use up some balance creamcheese so decided to bake creamcheese chiffon cupcakes for snacks. It smells so yummy!! Love them! 


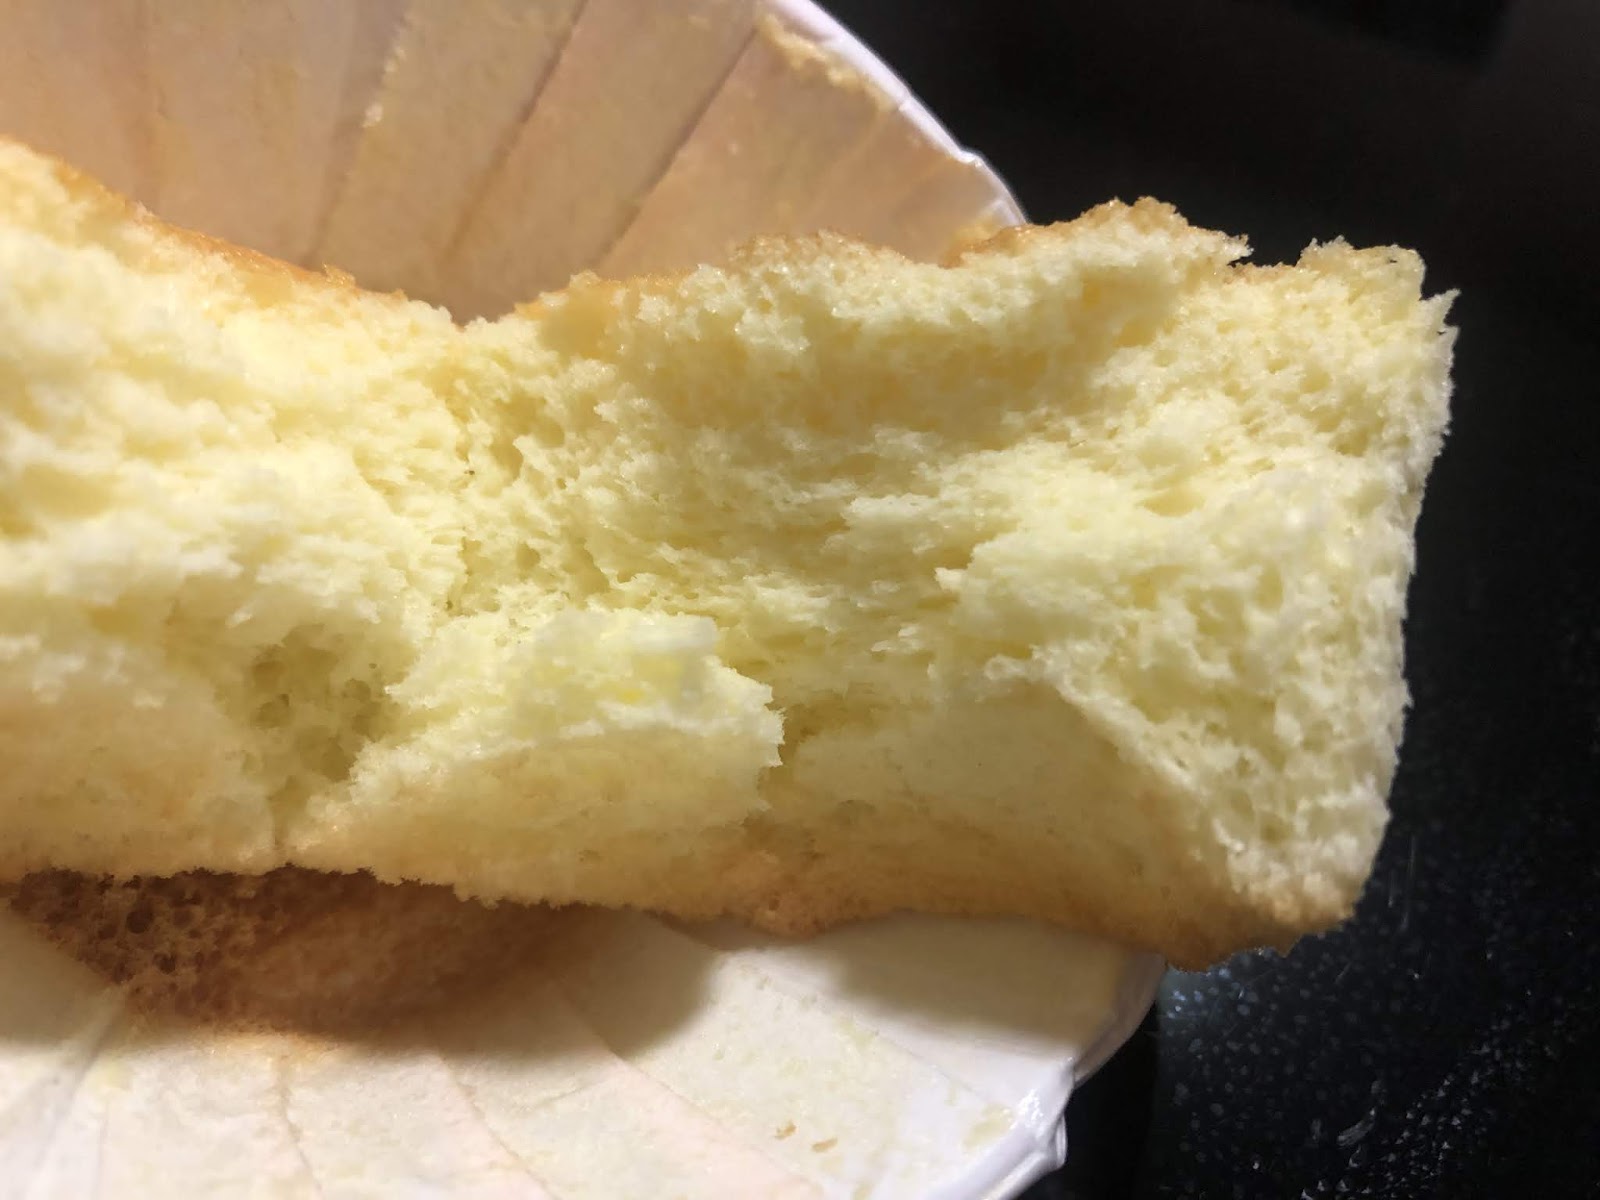
Its so soft but the top i think can bake slightly more brown to be drier! Esp in this weather, it will be more lasting in room temp if its drier. Love the mild chese taste in each cupcakes!! 


I filled them jus below the brim slightly and they rise so beautifully in the oven, no overflow. And when they cool, jus sink at the brim of the cupcakes! Lovely!! Pls try this recipe out! Super love the taste n texture! 

Creamcheese Chiffon Cakes (adapted from BlessedHomeMaker)
(A) 
60ml Milk
40g Creamchseese
25g Butter

4 yolks
65g Cake flour

(B) 
4 Whites
70g Sugar
1tsp Lemon juice

1) Melt (A) over double-boiled method and stir til creamy.
2) Add in yolks and mix well
3) Fold in flour til no lumps
4) Beat (B) til soft n glossy peaks
5) Fold in whites in 2-3 addition, pouring the mixture into whites for the last addition
6) Scoop and fill cupcake liners. Bake at 180-200deg for 30-45mins til top browned nicely


Wednesday, September 4, 2019

Blueberry Muffin


Lately a fren baked this blueberries muffins for us. I seldom eat cakes actually, only tasting some of my own bakes at time. But after I tried this muffin, I am blown away! My 3 kids also love them so much! And the fact that I was never a fruits person, I even ate the blueberries!! Such a wonderful way to ‘bluff’ myself into having berries! 

Immediately asked for the recipe, and was instructed by my gal to add choc chips. So my mission to bake them at home starts! I replace the plain flour with self raising flour and being kiasu, i added 1/2 tsp of baking powder as the original recipe calls for 2tsp of baking powder.

I think I could have fill a little too much batter so most of then exploded! So not pretty!! Kept 5 for myself and 6 to my neighbours. They said it was yummy after trying! I was curious how it would be, especially the texture!!!

I actually mixed up the steps from original recipes and was quite worried it will not come out well! My neighbour assurance gives me some confidence as they always give me honest comments! So now i can stop worrying and try 1 later! 


Immediately cut up 1 to try after dinner! I need to taste the texture and taste too! Hurray! Its soft, fluffy and not too sweet! Overall the tangy blueberries goes very well! I added choc chips as per my gal’s request. We both agree blueberries and choc chips doesnt gel that well! Thank god for the good texture and taste so it is still yummy to eat! Perhaps next round we should try choc chips or blueberries on its own. Yums!! Packed 1 each for them to bring to school for snack. Going to bake them again tml!


This serve to remind me that I have filled it up too full. Some of them exploded and become not pretty anymore! Haha~ Initial recipe makes 12 muffins, and I had 11! So I need to make a mental note that I need to divide them among 12! Try them!! 

Blueberries Muffins (adapted from OnceUponAChef)
115g Butter, room temp
180g Sugar
240g Self raising flour 
1/2tsp Baking powder
3/4tsp Salt
2 Eggs
120ml Milk
1tsp Vanilla paste

1.5punnet Blueberries

1) Cream butter and sugar til creamy
2) Put dry ingredients into 1 bowl, wet ingredients into another
3) Add dry then wet, alternating them in 3 additions, ending with dry ingredients.
*Do not overmix*
4) Fold in blueberries lightly
5) Sprinkle brown sugar on top
6)  Fill up 12 muffins cup and bake 180deg for 30-40mins til skewer comes out clean
7) Cool before storing

Tuesday, August 27, 2019

Copycat Jenny Butter Cookies w/Vanilla


Have sat on this recipe for quite a while. Partly cos I am lazy to get a pack of icing sugar just to bake them. Fortunately, a nice neighbour passed me just enough of them so I can finally try baking them! 


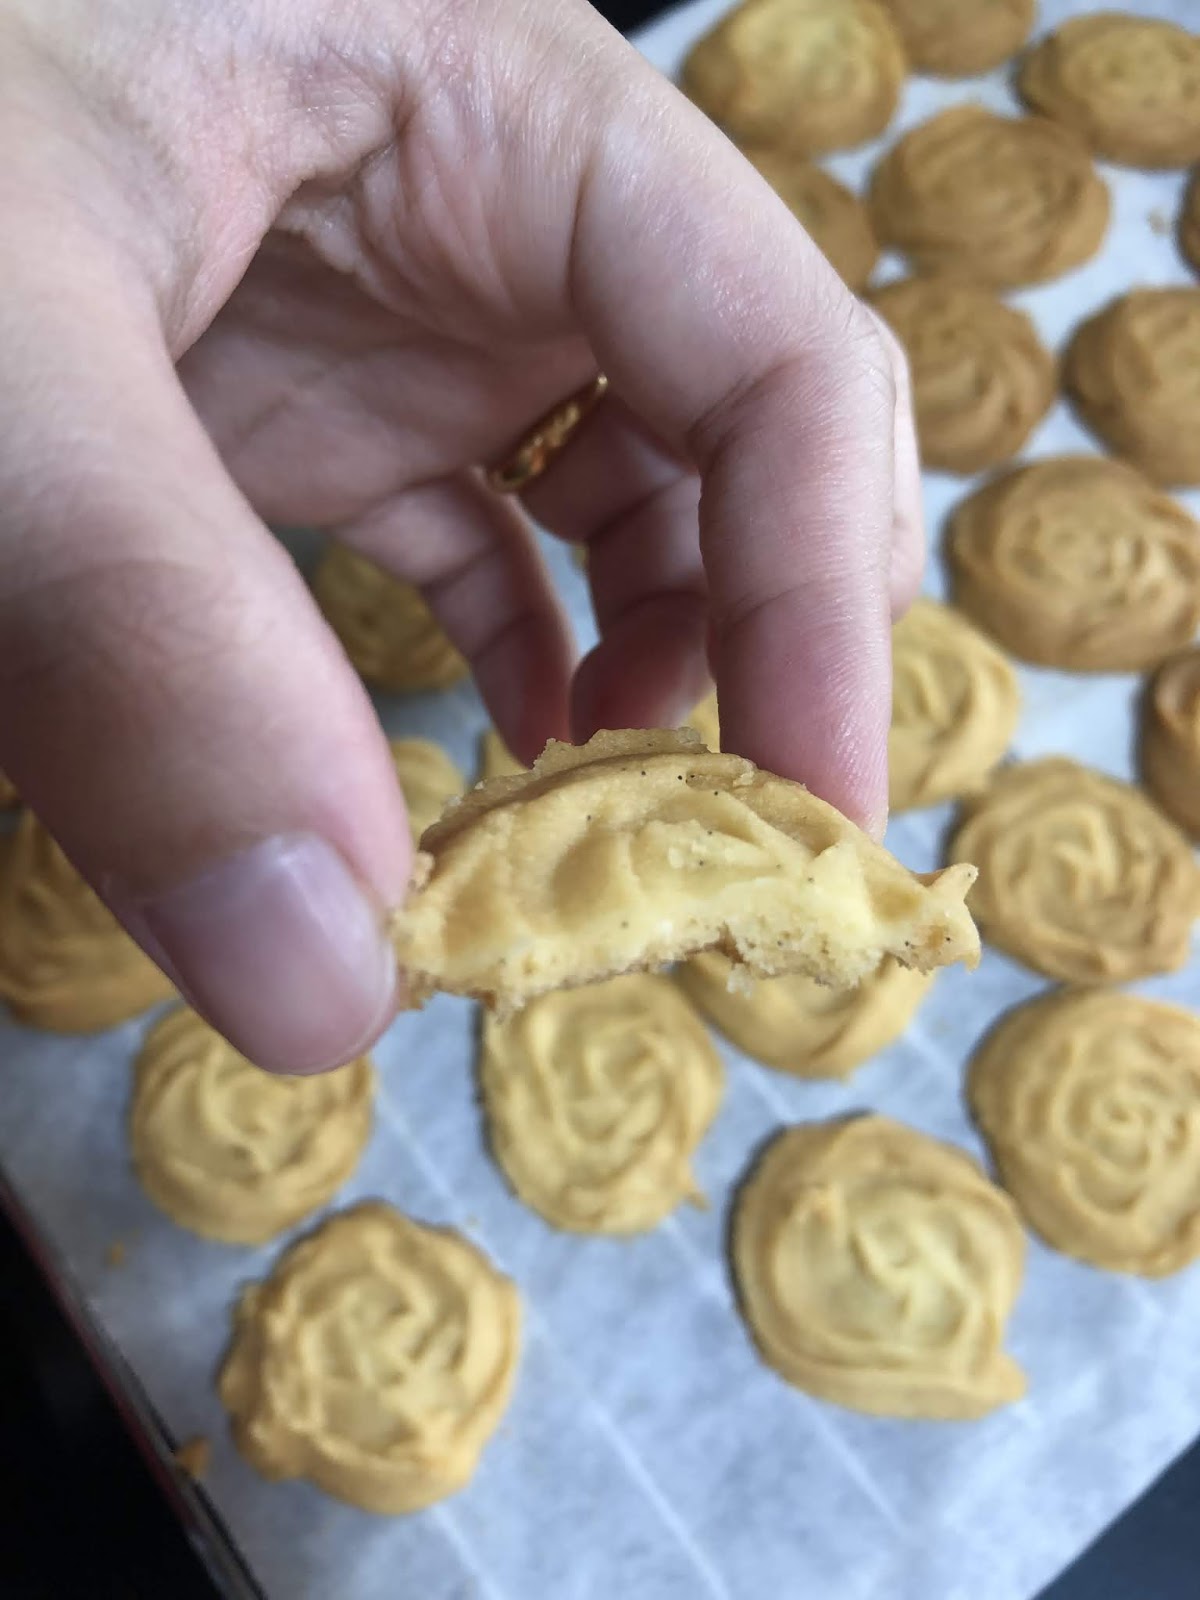
My first time after so long piping cookies! Awwww, my hands or rather my whole palm was aching as I was halfway thru the first tray! Took a while to really managed to get that rosette shape out. But the sizes were all still hard to guage! 🙊🙊 But it was fun seeing them so beautifully piped! 


The problem that some bakers make, I said some as most are experts in getting beautifully browned butter cookies, is that a split moment will get the cookies more browned or less browned. And this was what happen when I lost focus for a while during the last few minutes! Hahahahahaa! But luckily enough, it didnt affect the taste at all. Its only the shade of the brown-ness! 


I added vanilla pods to my batter as I love seeing those vanilla specks in the bake. And so happen that I recently bought some. I decided to use 1 for the cookies! Oh so fragrant in my sense. The cookies were melty, which I would prefer more crunch, perhaps omit the cornflour nxt bake. The sweetness was just nice and not overly sweet! Yums! Love them!! 


Can you see them?? 

Copycat Jenny cookies w/Vanilla (adapted from GingyBite)
147g Plain Flour (I am using leather jacket)
3g Cornflour
150g Butter (I am using lescure)
23g Icing sugar
1 vanilla pod, scraps the seeds into batter

1) I put all ingredients in a mixing bowl and using handwhisk to slowly whisk them up to creamy
2) Put in piping bag and pipe onto baking tray
3) Bake at 180deg for 15-20mins til cookies are nicely browned
4) Cool them before storing in airtight container!


Wednesday, July 31, 2019

Pandan Raisin Buns


Bookmarked and tried this recipe today! Made them into pandan bread as the kids’s favourite now is Pandan raisins bun! Hahahaha~ Decided to try how soft the bread is... 


Tore the 排包 and saw the 丝丝 and my heart went awwwwww..... love to see this on bread. So i tear a slice out to eat! 


Soft. The 排包 is soft as compared to the buns in my view. Perhaps I still need lots of room for shaping bread buns and baking bread always have a lot of challenges. Temperature, water, proofing and many many more! Haha~ Definitely need to try this again! Yums!


Pandan Raisins Buns (adapt and modified slightly from BakeForHappyKids)
415g Water (I use soy milk)
25g Honey
650g Bread flour
25g Milk powder
8g Salt
60g Butter
2tsp Yeast

*I added 2tsp Pandan paste + raisins for the buns*

1) Put ingredients according to the list above in breadmaker except raisins and knead for 30mins til dough is elastic and smooth. Proof for 1hr
2) Divide into 2 portion. Use 1 portion for pandan raisins buns and 1 portion for 排包
3) Roll out dough for buns and sprinkle raisins over. Wrap like a swissroll and then roll out and cut into small bun portion
4) Cut portion for 排包 into small portion. Roll out and swissroll all into thin strips
5) Leave both to proof for 1hr. Bake at 170-180deg for 20-25mins

Tuesday, July 30, 2019

Nestum Cereal Cookies


Bookmarked a while back and wanted to bake them for my kids. Loved her recipes as its usually in small batches. The use of nestum cereal reminds me of old school days! Yums! 


Very easily fix up with minimal mess. Actually i could have just use 1 bowl and make use of the weighing scale as I mix. But lazy to walk in and out so I weigh everything on my dining table before I sat down to slowly mix them up. My end batter was a bit dry in my view so I went to add 1 tablespoon of coconut milk! Hahaa~ Been adding some coconut milk to my cookies for that buttery coconut-y fragrance! 


My 3yo kept wanting to eat them after seeing my prepping them to go in oven for their ‘tan’ sessions. And I had to keep telling him its not ready! The smell when you bake them in the oven = HEAVENLY! I so cant wait to try them but managed to take myself away from the kitchen to make my 3yo naps. 


It is crunchy, with that flavourful nestum in each bites! Total love and great to go with a cup of milk for the kids! Try them! This will definitely go into their classroom snackbox tml! ❤️❤️


Nestum Cereal Cookies (BakeForHappyKids)
120g Butter, soften to room temp
80g Sugar (not supposed to reduce)
30g Egg yolks (approx 2 eggs, need to be precise in the weight)
2tsp Vanilla extract
60g Self-raising flour
1tsp baking powder
1tsp salt
100g Nestum cereal

*I added 1tablespoon of coconut milk at the end when my batter was a bit dry*

1) Use wooden spoon to mix butter and sugar til fluffy
2) Add in yolks and vanilla and mix well
3) Add in flour, salt and baking powder
4) Fold in nestum cereal and mix it well
5) Roll in small balls n flatten, leaving a bit of space for spreading 
6) Bake at 180deg for 20-25mins til top of cookies browned nicely
7) Cool well before storing in airtight


Friday, July 26, 2019

Rainbow Cat Tongue


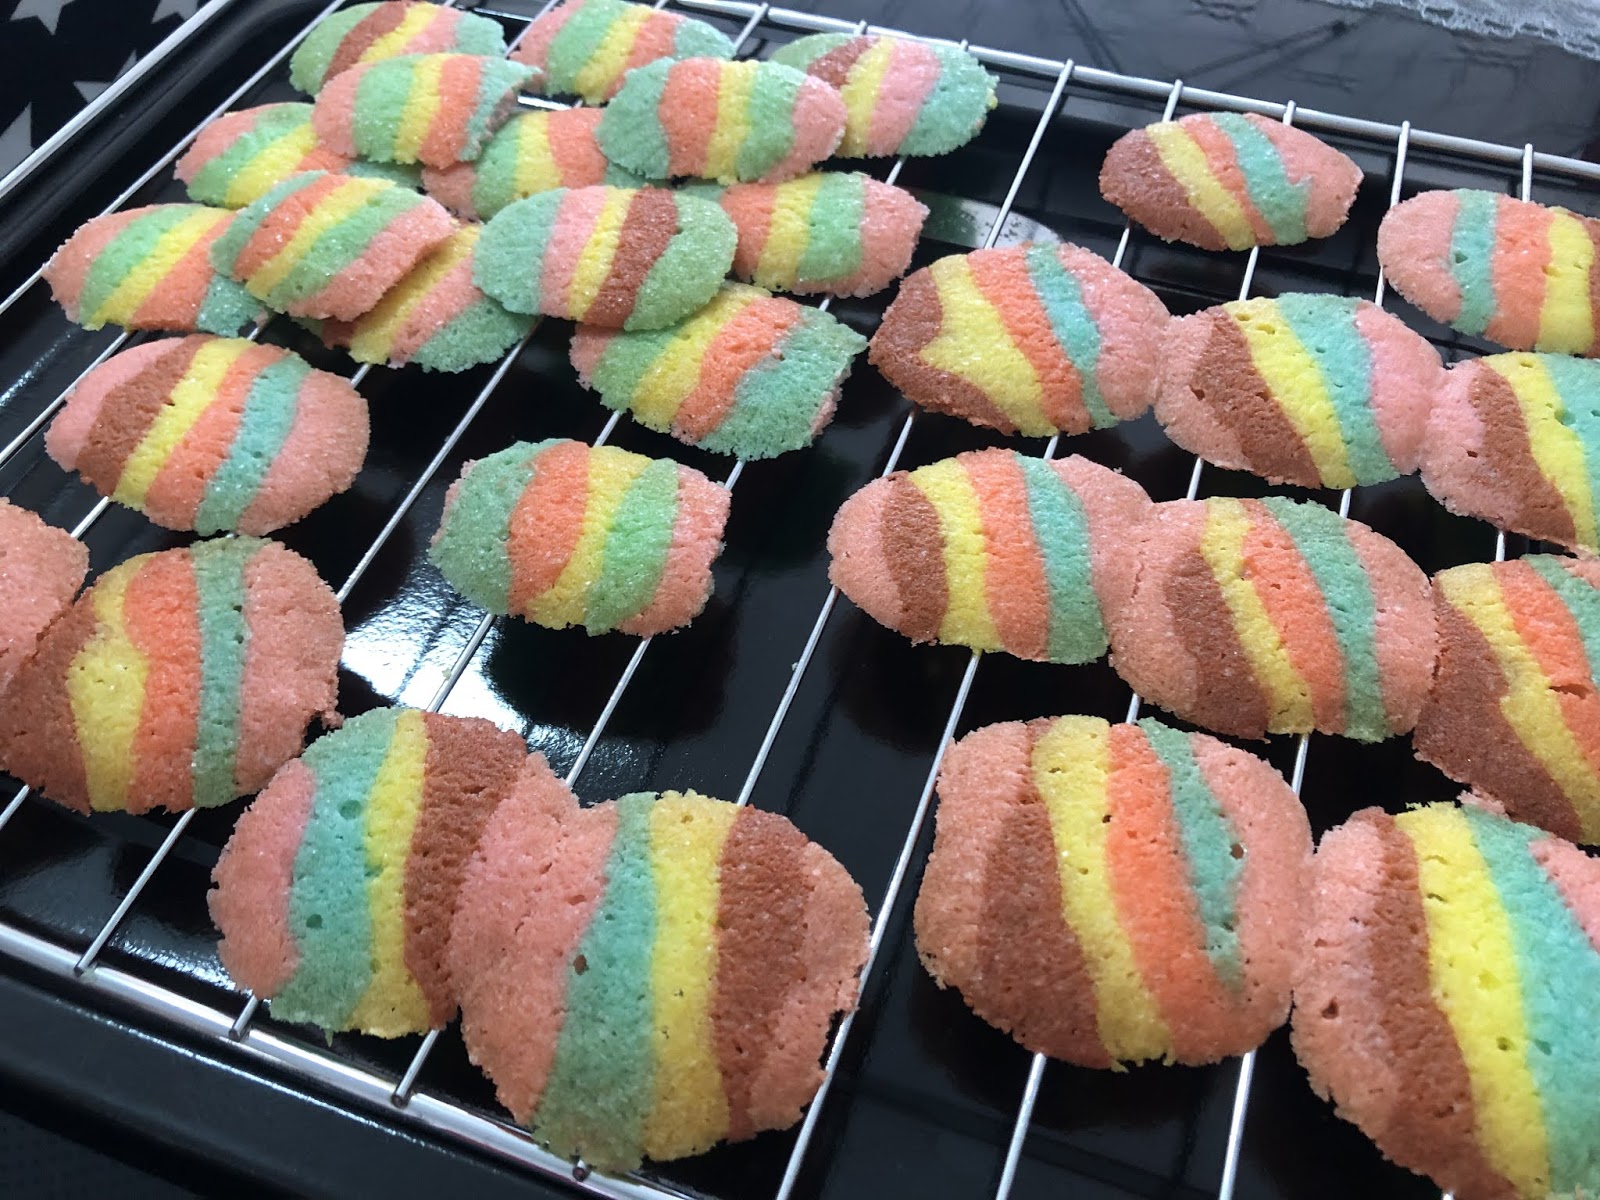
Baked a kek lapis yesterday and I had 10 egg whites left in the fridge. Wanted to make meringue but then chanced upon this Cat Tongue cookies and seems like so interesting. Making into mini rainbow cookies sounds like a good idea for the kids to bring in their snackbox on a boring school day. 


My first tray of cookies went in wrong. I piped too big and they spread too much. It seems like I underbaked too as it didnt turn crispy enough after cooling down. This tray went to the bin. Boohoo, so sad. 

So I piped them smaller without any shapes this round. Wanted to grasp the amount of batter to pipe and also baking time before exploring! And with 8 more whites, definitely not difficult to try again! 


Even the out-of-shapes ones caught his attention and he said Yummy yummy!! 

Smaller ones were out and he went ‘1 more 1 more!’ How can I reject him right? The rest were quickly packed away. The cookie is thin n crisp. But the sweetness seems to a bit sweet for me. I am definitely going to bake again and reduce the sugar again. Will update my trial next week! 

Rainbow Cat Tongue (adapted from TheBakingBiatch)
250g Butter
175g Caster Sugar
55g Egg whites
1tsp Vanilla extract
150g Plain flour
1tsp Baking powder

Gel colour of your preference

1) Beat butter and sugar til creamy and pale in yellow
2) Add in whites and extract
3) Add in 1/2 dry ingredients and mix well
4) Fold in remaining 1/2 with spatula and divide in the number of colours of your choice
5) Pipe with some space for spreading during baking
6) Bake at 160deg for 15-20mins
7) Cool before storing in airtight container


Wednesday, July 24, 2019

Oreo Kek Lapis


Been wanting to try baking this for the longest time. But the process, amount of eggs always deter me from doing it. I cant imagine standing in front of the oven or rather in and out of kitchen for a good 2-3 hours without disturbance from the kids so I always put it off. 

I baked approximately 8-9 layers which I cant even remember exactly. Haha. I only know I bring in and out of oven MANY TIMES! 😂😂😂 Cake batter I seems to overmix slightly, or did I accidentally overmix or undermix the butter portion. It sort of curdle a bit. Whites was slightly overbeat too! 🙈🙈 🙈 Tastewise was ok, I think can add a bit more spice for the taste. Texture is ok, except 1-2 layers I think a bit underbaked? Not too sure either as I need to make again to know! 🤔🤔 I wonder when will i have the courage! 


I wrap the bigger ones in cling. Apparently need to be kept a day in airtight for the flavour and oil to be released. Keeping fingers crossed tml will be better. But i dunno why my bottom layers seems a bit oilier. Need to study again if its normal! 


Kids will get some for school snack. Hope they enjoy this simple Oreo kek lapis that Mummy baked for them! 


After giving them out for friends to taste, I am glad most are positive reviews, even from my hubby. And I am left with the sides which I trim from the cakes. Also very yummy le. I wonder what does the bakery does with those trimmed sides? 


Oreo Kek Lapis (adapted and slight adjustment from WensDelight)
Portion 1:
20 yolks
140g Sugar

Portion 2:
500g chilled butter, room temp
200ml condensed milk
2tsp vanilla essence
150g cake flour
3/4 tsp spice powder

Portion 3:
10 whites
90g sugar

1) Beat yolks and sugar til balloon stage and set aside
2) Mix butter and condensed milk with vanilla essence til pale in colour and fluffy, creamy
3) Fold in dry ingredients to butter mixture 
4) Beat whites n sugar til medium-stiff peak
5) While whites is mixing, fold in yolk mixture to butter mixture in 3 additions 
6) Fold in whites to above batter in 3 mixture gently (If u wan 2 flavour, split 1/2 portion out and fold in oreo)
7) Preheat baking tin and oven 180deg
8) Line heated tin with baking paper and scoop the first layer of batter in and bake for 6-7 mins or tio top is browned nicely
9) Scoop same amount of batter onto first layer and baked using top heat for 6-7mins or til top is browned again. Continue to do until all layers are completed, pressing after each layer is done.
10) Cool and store in airtight for a day. Trim the edges and cut into slices before serving


Tuesday, July 23, 2019

Chocolate Chiffon


Chocolate chiffon as my challenge to bake 1 that is moist and rich of chocolatey taste. So i google and saw this highly rave Moist Chocolate Chiffon. This one uses cocoa powder. And the liquid proportion is higher than usual chiffon. 

Close up of the chiffon. Its light, soft and fluffy. Taste seems very rich too! Gonna pass to a friend for taste test to see if it passes her expectations. For now, all is going to be packed for kids’ snacks and my breakfast tml. 

I am also going to try another recipe that uses melted chocolate. To compare texture and taste. Let’s see which is better. So stay tune! 

Chocolate Chiffon (adapted from BakeForHappyKids)
6 yolks
45g oil
180ml milk (i use soy milk)
100g cake flour (original calls for 80g plain flour + 20g cornflour)
25g cocoa powder
1/4tsp salt

6 whites
120g sugar

1) Beat whites and sugar to medium stiff meringue. Set aside.
2) Mix all yolk batter til smooth and well combined.
3) Fold in 1/3 of meringue, then continue with 1/3 more. Then pour batter into remaining meringue and fold gently.
4) Tap on countertop to break bubbles. Bake at 180deg for 60mins. 

Monday, July 22, 2019

Kap Zhong (Youtiao w/Glutinous Rice)


A lovely friend showed us this and ask where to find in SG. She love this simple snack from malaysia. So being curious, adventurous and many point of kaypoh-ness, I went to google about it and followed a video recipe that I found!


Dough was quite sticky to handle. Wasnt really that easy to ‘swissroll’ the glutinous rice in the dough. But the preparation work and of cos the frying part was easy. I rub my hands with oil so its easier to work but the glutinous rice kept sticking to my fingers. Tried my best to shape them to my best! LOL.. 


Overall, taste quite like sweet dough with soft glutinous rice in the middle. Goes well with a cup of coffee! Now I am going on a hunt to find where in SG sells this and going to try how far does mine taste from the real thing! 

Sidenote, I freeze some and plan to see if they will fry well after freezing. I can make them and keep for days when i crave for it! 

Kap zhong (recipe from Youtuber-Poh Leng Tan)
Dough:
125g Bread Flour
175g Plain Flour
65g sugar
1.5tsp Yeast
1/2tsp salt
175ml water
1/2tsp Baking Soda
1big spoon Oil

Glutinous Rice (I only made 1/2 of her reipce)
100g Glutinous rice, soaked 4hrs
30g sugar
1/2tsp salt

1) Prepare glutinous rice, drained and stir in sugr and salt. Add water to cover top of rice and steam for 30mins.
2) Add all dry ingredients in breadmaker. Add in water and knead for 5mins.
3) Add in oil and knead another 25mins. Rest for 30mins
4) Roll cooled glutinous into a long strip and set aside
5) Roll out dough into long strip. Place glutinous rice in and roll up like swissroll.
6) Cut into portion and flatten then coat some sesame seeds
7) Deepfried til golden brown. Serve warm or cooled.