Thursday, September 26, 2019

Soft Honey Bread Loaf


Saw Zoe from BakeForHappyKids shared this recipe and was so wow-ed by the texture! And that it uses honey instead of sugar even gets me more keen to try them! 


I halve the recipe for a loaf as my hub prefers wholemeal. So i bake them for the kids going to school for breakfast and make a mini loaf for their slider sandwich for school recess! (Oh I wonder when they will get sick of home lunchboxes as they have been bringing it for the past 3yrs and more) 

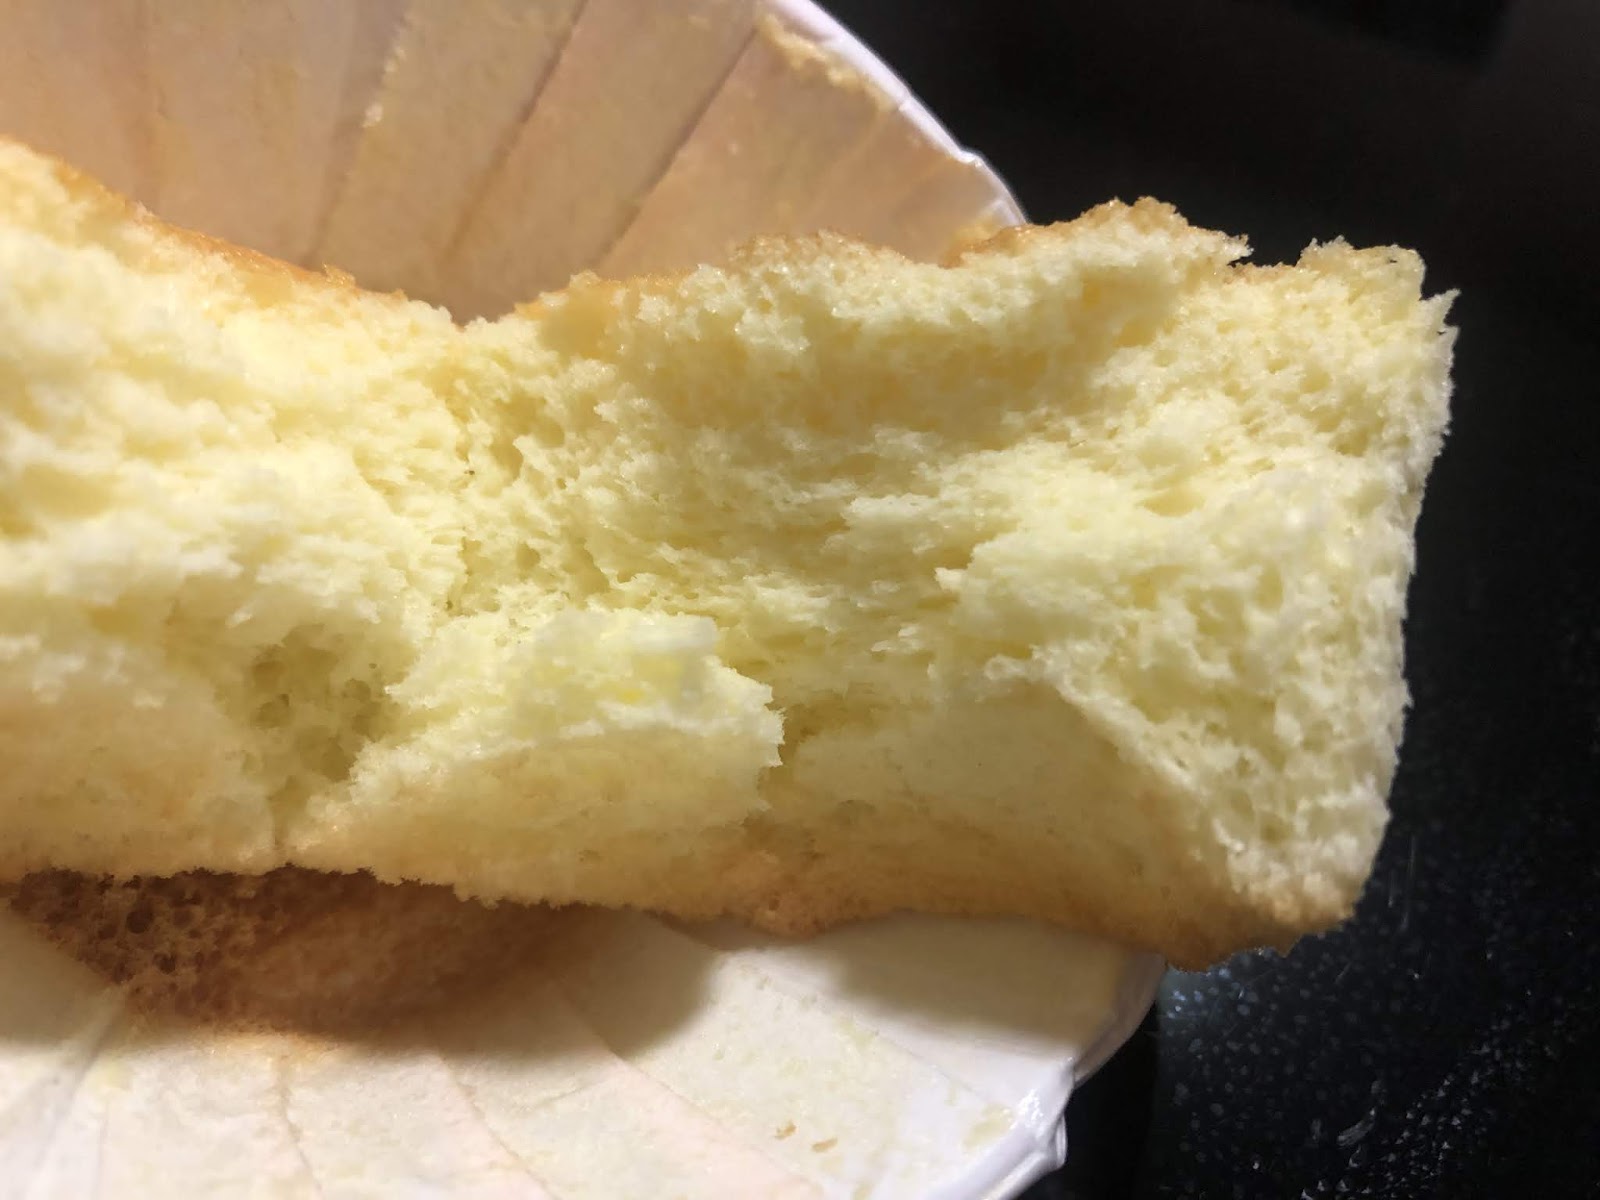
Back to the bread, I uses egg wash for a nicer hue! Indeed it is, so nicely browned. The texture is soft with a slight crusty exterior for mine. Maybe cos I bake it slightly longer. I tried a small pc from the mini loaf and love that chewy bread texture! Super super love. And all it needs was jus using the Breadmaker to knead for 30mins! The only downside was the dough was a bit sticky to handle and I had to call for help to get some breadflour to flour my working place! 


It goes very well with curry for my dinner. So soft and yummy! Another reason why I baked them today too as my house usually buys wholemeal bread. But its weird how wholemeal bread doesnt goes well with curry. Or is it me? hahaha πŸ˜‚


The mini loaf went with the slider and cheese for my kids to bring to school. isn't the size perfect? I think overall, its a great recipe! I am planning to use it tml as a raisin loaf! Yums!! 

Soft Honey Bread Loaf (Adapted from BakeForHappyKids)
*halve the recipe for 1 loaf
230g Water
22.5g Honey
325g Bread flour
22.5g Milk powder
2g Salt
25g Butter
1tsp Yeast

1) Put the ingredients as per above sequence and run the BM to knead for 30mins
2) Proof for an hour then divide into 3 portions
3) Roll out flat then roll up  swissroll, then repeat once more before placing in a grease bread tin
4)) Proof for 1 hour, eggwash then bake for 180deg for 30mins or when top is nicely browned and bread is cooked

Friday, September 20, 2019

Double Chocolate Chips Muffins


A neighbour friend baked them for me to try and immediately fell in love with it. Quickly ask for recipe and waited til today then have time to bake them! Decided to bring along for a simple gathering with a group of friends whom i made recently this year! 


I used the ikea cup liners and baked them in the ikea silicon cups. Couldnt find the old tall muffin trays there anymore. So sad! I saw something similar selling over $30 in ezbuy. Shall wait for my nxt overseas trip to see if I can chance upon anything cheaper. 

Oh the smell of baking them is super therapeutic! Smells like heaven with the rich chocolate aroma! Totally enjoying them! Wonderful! 


Packed them up for my gathering tml with cling wrap as to prevent them from drying up. And also was worried about ants too! Hopefully my friends n their kids will enjoy this rich chocolate muffins!  Definitely worth burning some calories for them! Rich, moist and soft! A go to for my choc fix! Try it. 


Double Chocolate Chips Muffins (makes 18 medium size)
115g Butter
150g Sugar (original recipe calls for 175g)
2 eggs
180g Melted chocolate
250ml Buttermilk (I use 250ml + 1tsp lemon juice and sit 1min)

Dry ingredients:
250g Plain flour
1tsp Baking powder
1/3tsp Baking soda
1/4tsp salt

Topping:
Handful of dark & milk chocolate chips

1) Melt chocolate and set aside
2) Cream butter and sugar til light pale yellow
3) Add in eggs and mix well
4) Add in melted chocolate
5) Alternate butter milk and dry ingredients, starting and ending with dry in 3 additions
6) Fold in chocolate chips
7) Scoop just slightly to the brim of cupcake liners
8) Bake at 180def for 30mins

Thursday, September 19, 2019

Simple Sponge Cake - Revisit


Make them today to clear my optima sponge mix. Made a simple pandan flavour for everyone and some friends. Love the mild pandan fragrance and yet not overly sweet. 


I replaced coconut milk & pandan juice with milk. Rewriting this post so I can reference whenever I am baking a simple sponge with this premix. Light and fragrance. 

Simple Sponge Cake
250g Sponge Mix
4 Eggs
3Tbsp Milk
3Tbsp Milk + 1.5Tbsp Milk + 1tsp Pandan paste (mix well)

1) Beat Eggs n Sponge mix to balloon stage. It should be a thick consistency
2) Add in 3Tbsp milk while continue to beat at low speed
3) Pour in milk mixture at the side and fold in gently
4) Bake at 170deg for 30-45mins

Tako Balls


Been wanting to do this again after i gotten the non-stick tako ball pan. A nice neighbour turn friend got me a pack of the flour for me to reattempt after my first try failed. πŸ˜‚πŸ˜‚


Using the tako ball mix from Don Don Donki. As the instructions was partially covered by the english label (for the ingredients), I made a rough estimation on what I could managed to see and mix the batter up. Phew! I think it seems alright! 


First i heat up and took up pan. Pour batter with a ladle, put in ingredients then let it set a bit. Using the sticks to flip them up a bit, i scoop more batter to cover them. And repeat a few times til i successfully make them into balls! 


Once it turns into a ball, doesnt have to be a perfect ball shape, i let then cook til nicely browned before taking them out. I topped them with the tako ball brown sauce (got from don don donki) , mayo and bonito flakes (got this from daiso). 


This is how it looks like inside after I took a bite. I think it is good for a first attempt! Yums!! Need practise more!!

Tako Balls (makes 36)
Toppings:
4 slices Ham, small cubes
Frozen corn
4 slices Cheese, small squares

Batter:
250ml Tako ball mix
400ml water
1 egg

Stir and mix well with a whisk. Follow above steps.


Tuesday, September 17, 2019

Beef Stew


I have been wanting to try making beef stew but then a bit worried the kids not used to such stews. The other day i saw someone using tomato paste and fresh tomato to make the stew. It intrigues me to use them to make for the kids since they love tomatoes! 

As I uses n season them, i added some oyster sauce too. I am using the Marks & Spencer Tomato & Basil Bruschetta topping (photo from web) as well as fresh tomatoes! Adding in carrots and potatoes, the whole stew taste wonderful! Both hub and kids love it!

Beef Stew (serves 4 pax)
480-500g beef cubes
3 tomato, wedge
2 potato, quarters
1 carrot, big cubes
Some baby corn

Seasoning:
1 jar Tomato & Basil Bruschetta topping
3Tbsp Oyster Sauce
Water, adjust accordingly to your taste
Dash of pepper
Grounded basil leaves

1) Sautee beef cubes til browned on outside
2) Add in potato, tomato wedges, carrots and mix the well
3) Add in seasoning and enough water to cover the beef, simmer for 30-45mins
4) Throw in baby corn, pepper, grounded basil n stir well. Serve warm with rice

Monday, September 16, 2019

Chinese Orh Kueh (Yam cake)


Was inspired to make these when a fren passed me her mum’s homemade orh kueh! I super love it that I immediately googled and try to find some recipes to follow. I mixed and match some of the recipes I saw and came up with this 2 attempts. 


Attempt #1: This version I was too kancheong and uses the wrong yam. Resulting in a weird texture for the yam. And the flour batter uses only rice flour which i find it a bit too soft. Seasoning wise I think it tastes ok so I told myself to attempt again with the correct yam and adjust the flour batter!


Attempt #2: I adjusted the flour batter and honestly I think it is slightly too firm? Perhaps I can lower the tapioca starch and use more rice flour. The correct yam definitely brings a whole new level to the whole texture. But then as the ‘kueh’ is slightly too firm, i find it a bit dry after panfrying. Taste wise still ok. 

You can review my both attempts and maybe adjust slightly for your own preference! I am so going for attempt #3 and will update here again for my own reference! Yums!!


Chinese Orh Kueh - Version #1 (with the wrong yam)
500g China baby yam, peeled, wash n cube
1 handful dried shrimps, soaked and chopped slightly
2 Lup cheong (ηΎŽηι¦™), deskin and chopped

Flour batter:
150g rice flour
600g water
1/3 chicken stock cube (msg free)
1tsp fish sauce
Dash of pepper
Dash of salt

Seasoning:
2tsp Light soya sauce
Dash of pepper

Garnish:
Shallot, fried til browned

Chinese Orh Kueh - Version #2 (with the correct yam)
500g yam, peeled, wash n cube
1 handful dried shrimps, soaked and chopped slightly
2 Lup cheong, deskin and chopped

Flour batter:
130g rice flour
70g Tapioca starch
600g water
1/3 chicken stock cube (msg free)
1tsp fish sauce
Dash of pepper
Dash of salt

Seasoning:
2tsp Light soya sauce
Dash of pepper

Garnish:
Shallot, fried til browned


1) Prepare all ingredients one side and fry shallots til crispy and browned
2) Using shallot oil, stir fry dried shrimps til fragrant and add in lupcheong and gently stir them well
3) Put in yam cubes and add seasoning. Mix well and fry for 3-5mins and take out.
4) Using the same wok, add in flour batter and stir well before adding in the ingredients that was fry earlier. Keep stirring over med heat.
5) Once the batter turns stickier, turn to lowest heat n keep stirring til it becomes thick and sticky.
6) Pour onto a greased pan and steam for 45mins - 1hr until it is firm. Cool it completely before slicing

Friday, September 6, 2019

Spicy Bulgogi Pork Strips


I love korean food, especially kimchi, their bulgogi marinates too! I normally use my bulgogi for grilling meat slices when I am having steamboat! The meat is so yummy on its own after grilling! 


This is the marinate I am using. I have both spicy and non-spicy version. Usually I use a spoon of the marinates, add some sesame oil and chinese wine. Just like that will be so flavourful already! 


I am using this part of the pork called - 不见倩 which is from the armpit. Yes sounds weird but ever since I first started eating this part of the meat, I never buy other parts for stirfry already! Therefore today trying to deepfry and see if its still soft and juicy! Indeed it is! Penning down my recipe so i can always refer back!


Spicy Bulgogi Pork Strips
400g Pork (am using pork armpit aka 不见倩), cut into thin strips
2Tbsp Spicy Bulgogi sauce
1Tbsp Sesame oil
1Tbsp Chinese wine

1) Add the above seasoning to the pork strips and marinate overnight
2) Coat strips with cornflour and deepfry for about 3mins each side. Do not overcook! Serve warm!

Hoki Fish Nuggets


Recently I tried this Hoki fish from a local supplier - Hai Sia Seafood. Apparently this fish is used for Fillet-O-Fish and Fish & chips. Therefore I buy them to try at home! 

Today i cut into thin slices and marinate them overnight. Coated them and deepfry to make our own fish nuggets! Only flaw was I didnt fry them over high heat, so the crisp cannot stay long. But for a homemade version, I would say its good enough for the kids to snack on. And did I mention, I forget to add some salt. So my nuggets were not saltish but only tasted of the original fish! 


Texture is firm. Not too oily and its real fish! Try them! Perhaps I would try again over high heat to check on the crisp. Haha!

Hoki Fish Nuggets
300g Hoki, cut into thin slices
1Tbsp sesame oil
1Tbsp chinese wine
1tsp onion powder
1tsp ginger powder
Dash of pepper

Coat:
Cornflour, egg, panko crumbs

1) Prepare the fish as above, marinate overnight
2) Heat up oil, coat fillet with cornflour, then egg, then panko and deepfry
Only flip when u see corner of the fish start to brown
3) Fish is ready when both side is nicely brown. Serve warm to maintain cripsy

Thursday, September 5, 2019

Creamcheese Chiffon Cupcake


Need to use up some balance creamcheese so decided to bake creamcheese chiffon cupcakes for snacks. It smells so yummy!! Love them! 


Its so soft but the top i think can bake slightly more brown to be drier! Esp in this weather, it will be more lasting in room temp if its drier. Love the mild chese taste in each cupcakes!! 


I filled them jus below the brim slightly and they rise so beautifully in the oven, no overflow. And when they cool, jus sink at the brim of the cupcakes! Lovely!! Pls try this recipe out! Super love the taste n texture! 

Creamcheese Chiffon Cakes (adapted from BlessedHomeMaker)
(A) 
60ml Milk
40g Creamchseese
25g Butter

4 yolks
65g Cake flour

(B) 
4 Whites
70g Sugar
1tsp Lemon juice

1) Melt (A) over double-boiled method and stir til creamy.
2) Add in yolks and mix well
3) Fold in flour til no lumps
4) Beat (B) til soft n glossy peaks
5) Fold in whites in 2-3 addition, pouring the mixture into whites for the last addition
6) Scoop and fill cupcake liners. Bake at 180-200deg for 30-45mins til top browned nicely


Wednesday, September 4, 2019

Blueberry Muffin


Lately a fren baked this blueberries muffins for us. I seldom eat cakes actually, only tasting some of my own bakes at time. But after I tried this muffin, I am blown away! My 3 kids also love them so much! And the fact that I was never a fruits person, I even ate the blueberries!! Such a wonderful way to ‘bluff’ myself into having berries! 

Immediately asked for the recipe, and was instructed by my gal to add choc chips. So my mission to bake them at home starts! I replace the plain flour with self raising flour and being kiasu, i added 1/2 tsp of baking powder as the original recipe calls for 2tsp of baking powder.

I think I could have fill a little too much batter so most of then exploded! So not pretty!! Kept 5 for myself and 6 to my neighbours. They said it was yummy after trying! I was curious how it would be, especially the texture!!!

I actually mixed up the steps from original recipes and was quite worried it will not come out well! My neighbour assurance gives me some confidence as they always give me honest comments! So now i can stop worrying and try 1 later! 


Immediately cut up 1 to try after dinner! I need to taste the texture and taste too! Hurray! Its soft, fluffy and not too sweet! Overall the tangy blueberries goes very well! I added choc chips as per my gal’s request. We both agree blueberries and choc chips doesnt gel that well! Thank god for the good texture and taste so it is still yummy to eat! Perhaps next round we should try choc chips or blueberries on its own. Yums!! Packed 1 each for them to bring to school for snack. Going to bake them again tml!


This serve to remind me that I have filled it up too full. Some of them exploded and become not pretty anymore! Haha~ Initial recipe makes 12 muffins, and I had 11! So I need to make a mental note that I need to divide them among 12! Try them!! 

Blueberries Muffins (adapted from OnceUponAChef)
115g Butter, room temp
180g Sugar
240g Self raising flour 
1/2tsp Baking powder
3/4tsp Salt
2 Eggs
120ml Milk
1tsp Vanilla paste

1.5punnet Blueberries

1) Cream butter and sugar til creamy
2) Put dry ingredients into 1 bowl, wet ingredients into another
3) Add dry then wet, alternating them in 3 additions, ending with dry ingredients.
*Do not overmix*
4) Fold in blueberries lightly
5) Sprinkle brown sugar on top
6)  Fill up 12 muffins cup and bake 180deg for 30-40mins til skewer comes out clean
7) Cool before storing