Showing posts with label Fast Meals. Show all posts

Tuesday, September 10, 2024

Cabbage Pizza


Today is an idea inspired from 小红书. Been wanting to try as it looks delicious. Depending on what ingredients you top it with, it will make up for the protein in this meal and the cabbage is the greens you need. 


Easy to assemble and cook. Just dump it in airfryer or oven. Can you still see the cheesy pulls from the parmesan I used. Next round I gonna try with cheddar or mozerella as I believe will be a better fit! And probably add some tomato puree! 


Cabbage Pizza
1 small portion of cabbage
Pizza cheese (I use parmesan this time) 
Shrimps
Tomatoes
Seasoning: Black pepper, chilli power, pink salt

1) Slice cabbage into a disc
2) Rub seasonings on it and bake 180deg x 15mins
3) Put ingredients on top and continue to bake another 10mins
4) Enjoy

Sunday, August 4, 2024

Fast & Easy Fried Noodles


Its the weekend! End of the week already and a new week is starting. Time really flies and its so scary, hahahha. 

Today decided to change my menu as it was raining the whole day since late morning. The weather is so cold and comfy that I even took a short nap before cooking dinner.

I have bookmarked this recipe for a while and since the cold weather has made me kinda lazy, what better day to cook this then. So here we go, and I was also craving some noodles (from watching too much Jinny Kitchen) 


I am using this noodles, as such I tweak the recipe a bit. If you are using those thicker kind of dry noodles then can consider to follow the cookidoo exactly. 

I love the seasoning of this noodles, it is jus nicely flavoured and not overly salty. With the non-fried noodles, I am quite comfortable to cook them once a while for the family as an indulgence ❤️

Fast & Easy Fried Noodles
(Recipe from Cookidoo, slight modifications)
30g Light soy sauce
30g Oyster sauce
10g Dark soy sauce
Pepper
1 whole Garlic
30g Olive oil (I used 20g olive and 10g sesame oil)
1 pkt Baby Kailan
300g Shrimps
150g Minced pork
5 portion Koka non-fried noodles

1) Set kettle to cook with 1L of water - Kettle mode
2) Put noodles in and cook for 3mins, stirring halfway. Drain and set aside - 3mins 100deg reverse spoon
3) Add garlic to mixing bowl - 5 sec, speed 5
4) Add cooking oil - 3mins 120deg spoon speed 
5) Add vegetables, minced pork & shrimps - 4mins, varoma, spoon speed
6) Add in cooked noodles and toss slightly - 2mins, varoma, spoon speed


Friday, July 12, 2024

Baked Egg Cups


Baked some egg cups for breakfast and lunchboxes to school. Decided to share a simple prep-ahead and yummy lunchbox recipe that I always play around with. 


I am using this ingredients for this batch. I always change the toppings around to make it feel like a different thing each round I made them. I tried brocolli, spinach, ham, chicken, sausages as well. It all depends what your family likes. This batch is the first time I am topping them with feta cheese ❤️


This is how their final lunchboxes looks like! Left is for my sec 3 firstborn and right is for ny pri 2 youngest child. Both have different preference and so I always try to pack them to the best I can. 


Sitting down to take 1 before my run after dropping the youngest to school. He also tried a mouth and pass it. Says he gonna come home and have more for lunch too. So happy and blessed when your family love the food you made. Even my second child also had it for breakfast this morning as he was asking what was it when I was packing. Another thumbs up customer! 

Baked Egg Cups
6 Eggs
Some milk, ard 20g
Ingredients of your choice :
I used capsicum, cherry tomatoes, corn, shrimps
Feta cheese, toppings 

1) Mixed egg n milk n beat well
2) Add shrimps and cling wrap
3) Prep all other toppings and set aside
4) Pour egg mixture into cupcake cases
5) Add in remaining toppings, feta cheese on top
6) Bake 180deg x 20mins

Monday, February 27, 2023

Thermomix Fried Maggie Noodles


Been a while I haven upload new recipe post! Decided to stirfry some noodles since feeling motivated after sharing my Fried Rice tips and helped so many of our Team AKK big family cooking this simple 1-dish meal anytime they want. 


Randomly, impromptu did a trial and jot down the steps and ingredients. Blessed that my method works and its well-received by the family tonight!


Thermomix Fried Maggie Noodles (video link here)
3pc of Koka Maggie noodles
1 shallot
6-7pc Prawns
100g Minced meat
100g XiaoBaiCai
1Tbsp Sesame Oil
2-3drizzle Fish Sauce

1. Use kettle mode to boil 1l of hot water and pour over the maggie noodles. Loosen them up and pour away once it starts to loosen off (Dont need to soak til its soft)
2. Add shallot and chop - 5secs/speed5
3. Add sesame oil - 5mins/speed1
4. Add minced meat - 3mins/speed 1
5. Add butterfly whisk and add prawns - 3mins/speed spoon
6. Add xiaobaicai - 1min/speed spoon
7. Add noodles and seasonings - 3mins/speed spoon

Enjoy and warm! 


Wednesday, June 1, 2022

Egg Fried Rice (Thermomix)


Been a while I have not updated my blog. Too busy with house shifting, then the Chinese New Year, still settling in and then the PSLE kid. Tiring 😅

Today sharing a simple Egg Fried Rice Recipe that I have done with my thermomix. Using a fried eggs tips shared by my team’s advisor on how to have fried eggs! YES! FRIED EGGS! Not too bad for a TM-version without an oily kitchen. ❤️

Tips for higher success-rate Fried Rice would be using cooled rice, and preferably basmati rice. Using jasmine rice and japanese rice is fine too, but if its not cooled well enough or its too wet, the chances of the fried rice being mashed up is high. So do be careful with your rice prior to making Fried rice. I would reduce 1-2mins of cooking time to ensure less wet and soft rice if you are
not using basmati rice.

You can see the video of the process from my instagram here as the video was too huge to upload. It really quite simple and I will write down the recipe and steps below for you all. 


Made some homemade chicken floss as toppings. Really just dumping meat and seasonings and let my thermomix do its magic. Added in toasted seaweed and seaame for a small portion to use. Yums! Smell so good! And important is you know what goes in this batch of floss and its preservatives and msg free! 

Hope you like my simple sharing for today! 


Egg Fried Rice
2cups Basmati rice (Approx 280g)
2-3tsp Fish gravy
1Tbsp dark soy sauce
Sesame oil
4 Garlic cloves
Ham
Corn kernels

4Eggs
40g Oil

1. Cooked rice as per normal and set aside
(17mins, 100deg, speed 3)
2. Pour in 40g oil
(3mins, 120deg, speed 0.5-1)
3. Once oil is heat up, cook oil for another 10mins while
pouring in egg batter. Pouring batches by batches only when earlier batches is cooked and set.
(10mins, 120deg, speed 0.5-1)
4. Once egg is done, remove and set aside. Add in 4 garlic cloves and chop
(5secs, speed 5)
5. Add sesame oil and saute 
(3mins, 120deg, speed 0.5)
6. Add in Ham and corn kernels
(5mins, 120deg, reverse speed 0.5)
6. Adjust ham qnd corn kernels. Insert butterfly whisk. Add in rice, eggs, fish gravy and dark soy sauce
(3mins, 120deg, reverse speed spoon)
7. Serve warm!


Thursday, November 25, 2021

Yam Rice (Ninjafoodi)


Since I have some leftover yam, I decided to make some Yam rice for grandma as she requested. Decided to try out my own style of making it, abit similar to cooking claypot rice style previously.  


Very simple ingredients and sauces, yet so flavourful. Best is another Grandma-approved dish cos she ‘ordered’ this with the leftover yam from making Yam cake the other day! ❤️


Try it! Took less than 30mins to get this fast meal done! Plating or no plating also looks so flavourful! 😋 

Yam Rice
2cups rice
2cups water
handful of dried shrimps (soaked)
200-250g yam, cubes
200g minced meat
red onions, chopped
2Tbsp oyster sauce
3-4Tbsp dark soy sauce 
1tsp five spice powder
Pinch of pepper
2Tbsp cooking oil

1. Saute mode med-hi: Put in oil, dried shrimps and onions and stir fry til fragrant.
2. Add minced meat and yam and fry til meat changes colour
3. Add in water, seasoning and rice then give a quick stir.
4. Close lid, set to seal, pressure cook on hi x 5mins and let it sit for 10mins before quick release
Serve warm

Tuesday, October 5, 2021

Fried Rice (Thermomix)


Decided to do a trial run for my Fried Rice before doing a demo on my unboxing. Apparently my friend’s kids love Fried rice! So menu changed from Chicken rice to Fried Rice! 


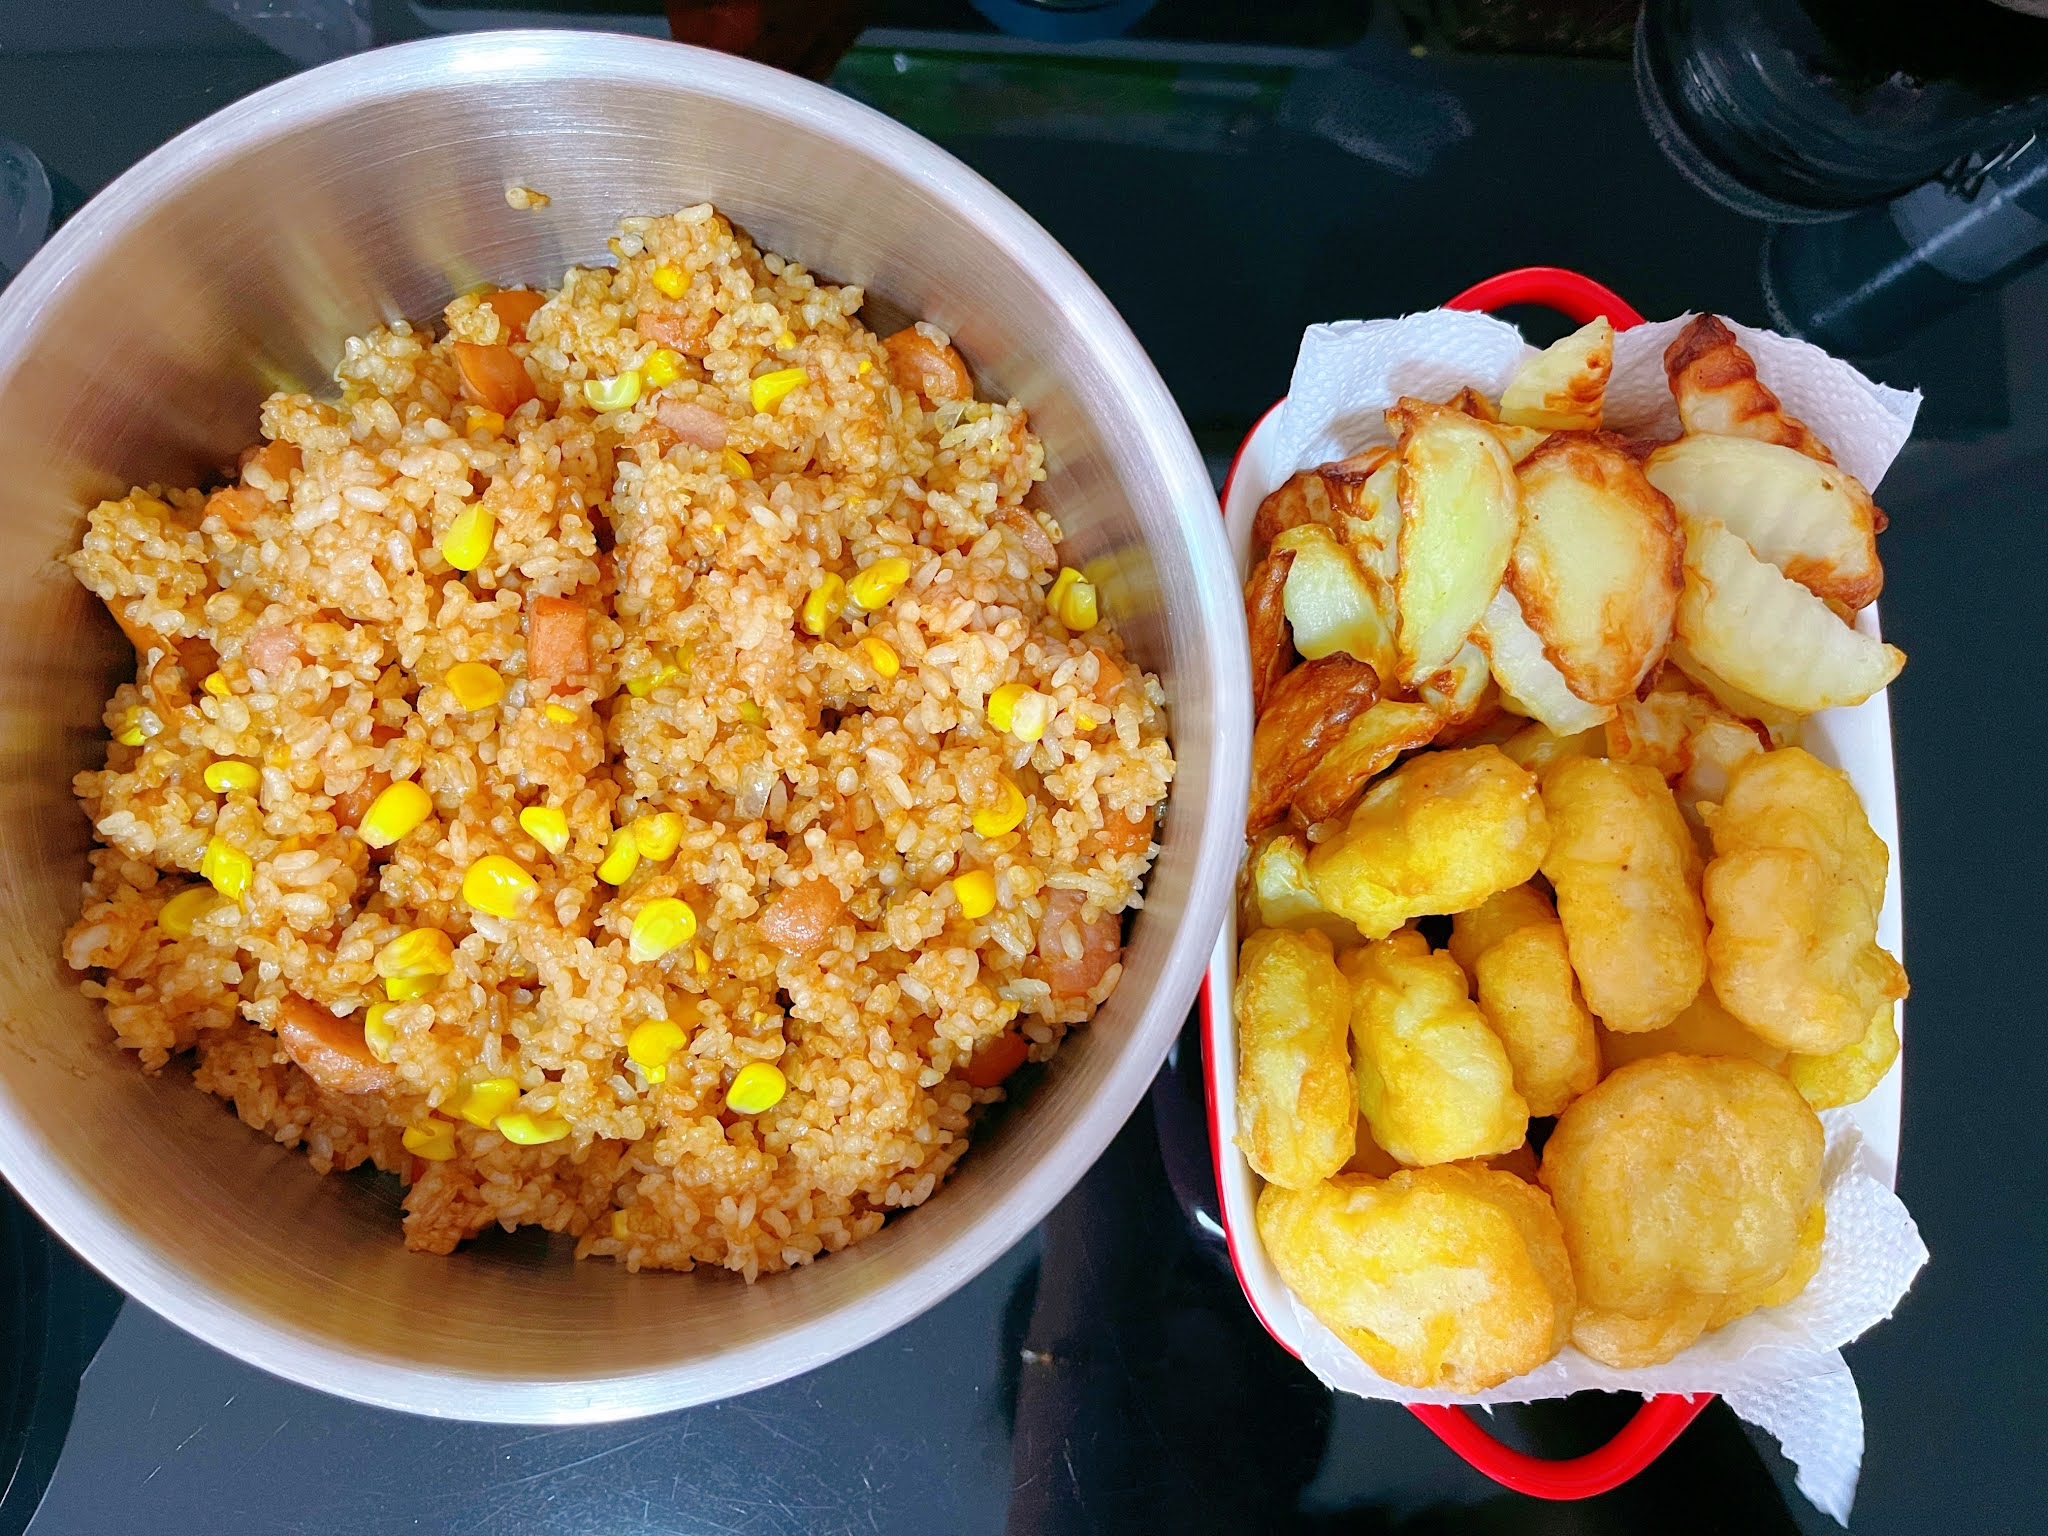
Very simple steps as per photo attached above. Just cook the rice 30mins prior to cooking the Fried rice so the rice can be cooled a bit and wont mush up. Pairing along with some Truffle salt potato wedges! ❤️


Fried Rice
2 cups Jap rice (cooked 16mins with TM)
4 sausage, chopped
1/2 bowl frozen corn
2Tbsp dark soy sauce
3 clove garlic
1Tbsp cooking oil


1. Add garlic and chop
10secs, sp 5 then up to 8

2. Add cooking oil
5mins, varoma, rv sp (cover MC)

3. Add ingredients
5mins, varoma, rv sp (cover MC)

4. Add in rice, 2tbsp dark soy and toss lightly
3mins, 120deg, rv sp
- at 2mins point, i stop and stirr abit to ensure evenly cooked

Friday, October 1, 2021

Hokkien Mee (Thermomix)


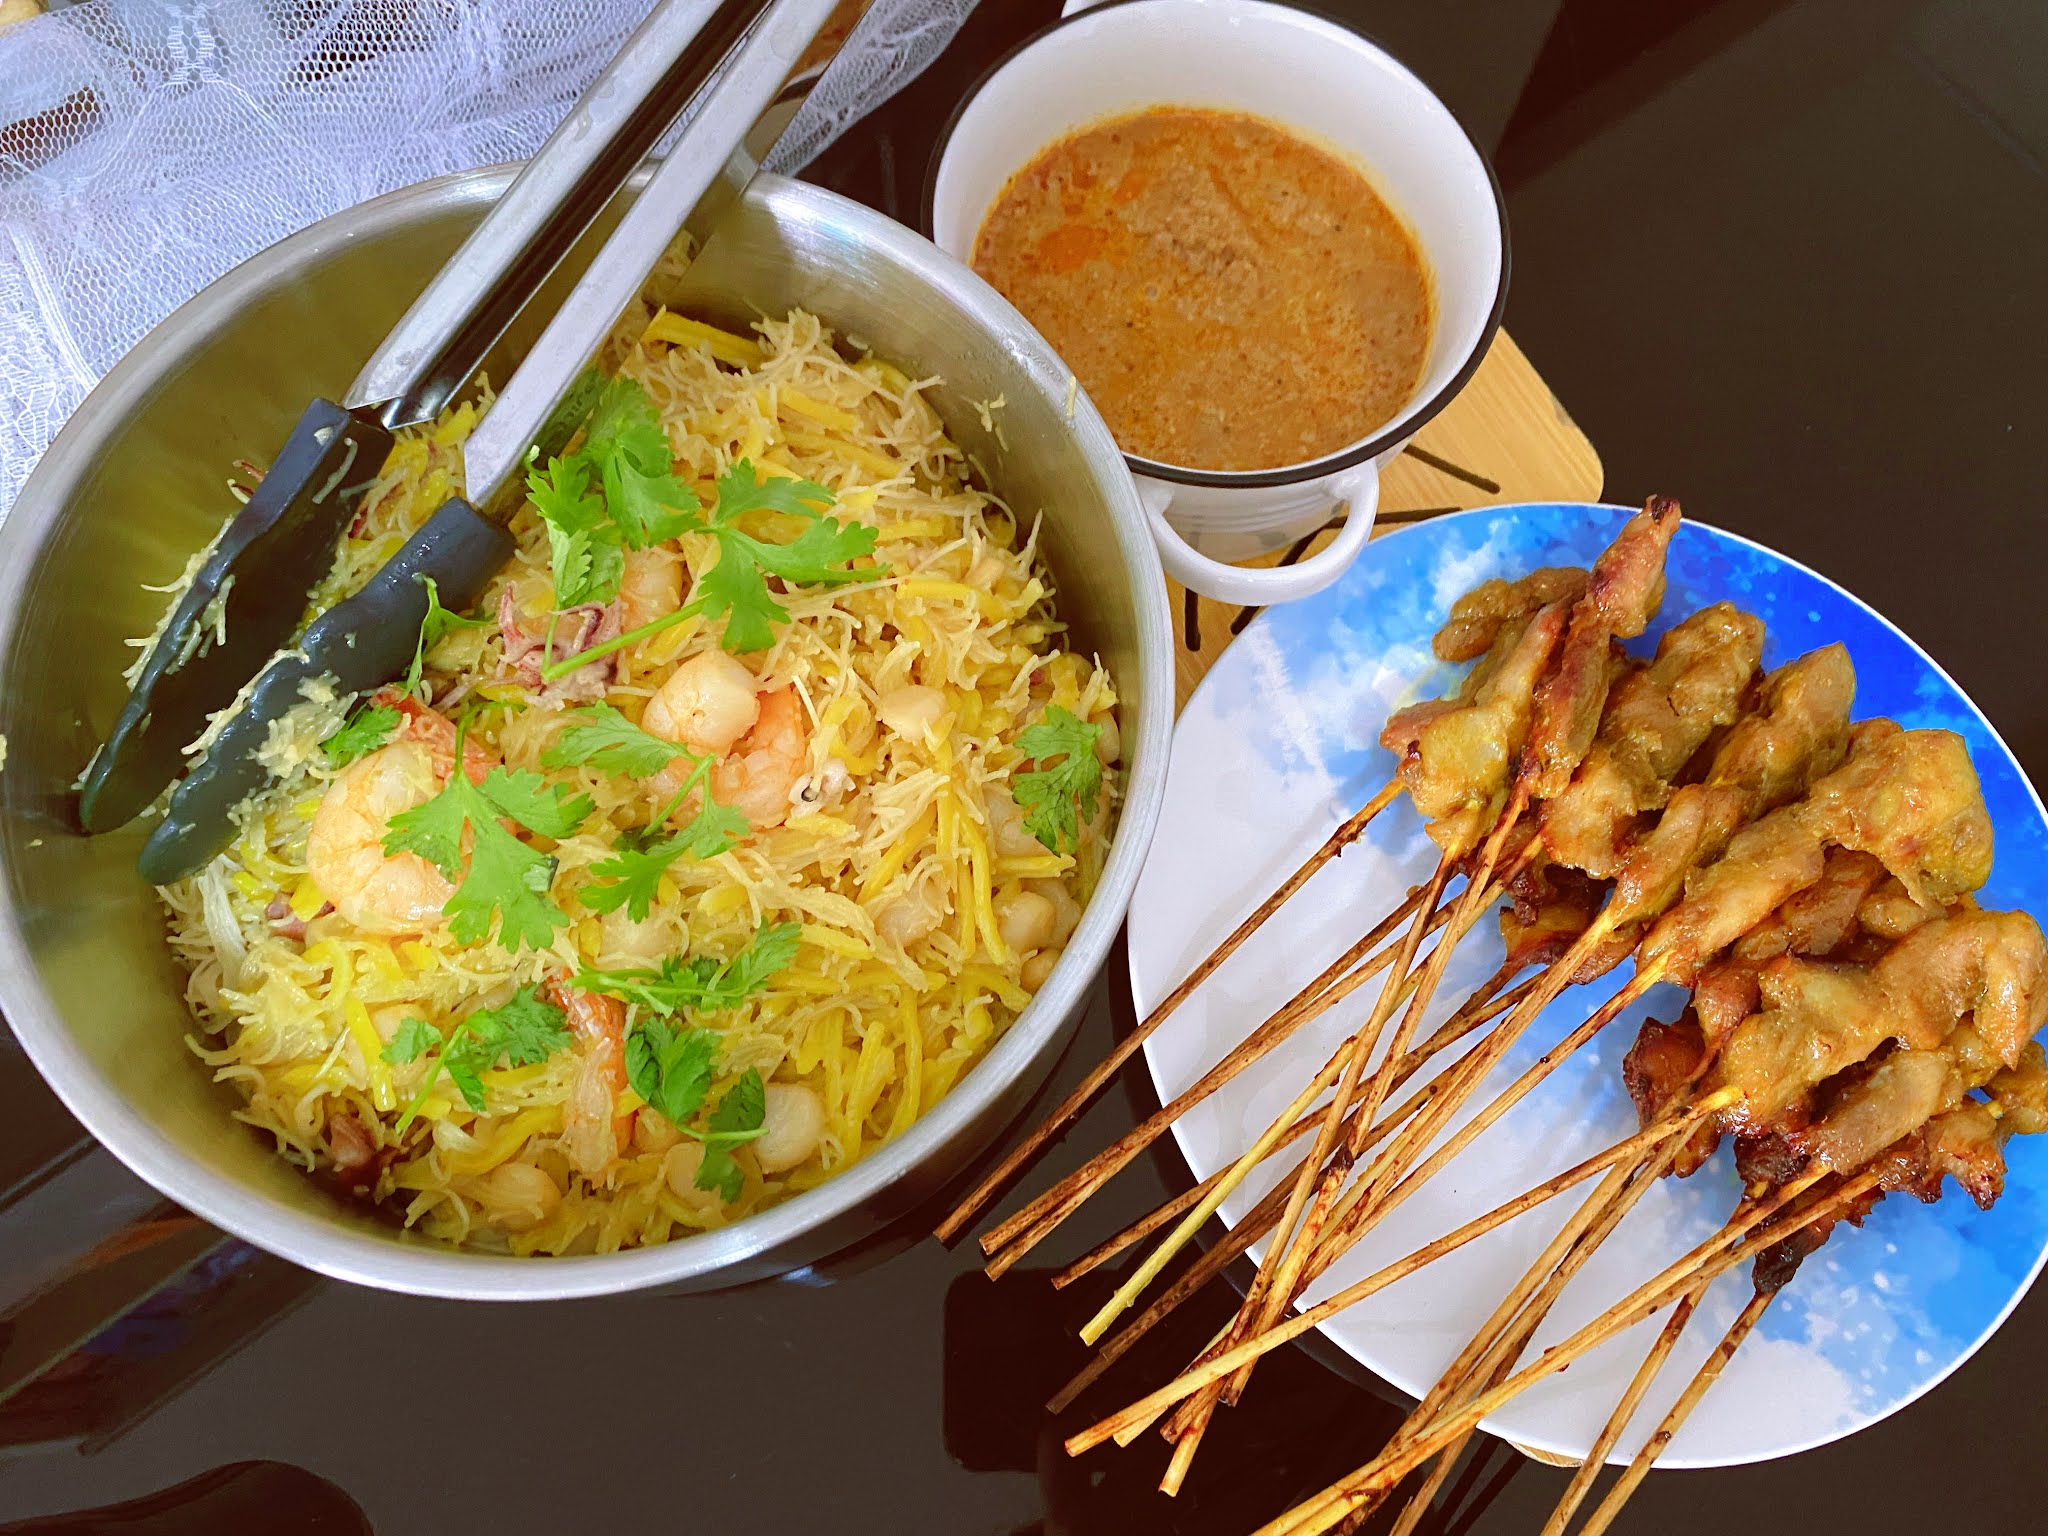
A simple hokkien mee with ready prawn stock to add flavour to this dish! And whats hokkien mee without satay! ❤️

Easily put together and thats settled for lunch. So whats for lunch tml? 🤔


Hokkien Mee (Thermomix)
3 portion of beehoon
300g yellow mee
300ml prawn stock
Prawns
Sotong
Garlic

1) Soak beehoon and rinse yellow noodles. (only soak beehoon til soften slightly)
2) Garlic and oil
10sec, sp 5 
5mins, 120deg, rv sp 0.5
3) Add prawn and squid
3mins, 120deg, rv sp
4) Add prawn stock and bring to boil
3mins, varoma, rv sp
5) Add in beehoon and noodles
8mins, 120deg, rv sp

Thursday, September 30, 2021

Canned Pork Bee Hoon (Thermomix)


Been wrecking my head recently on what to cook. Then remembered it has been a while I cook Canned Pork Bee Hoon. Since it is easy and simple without much fuss, here we go! 


Its simple yet always welcomed for my family at any time. Recording down to get the perfect taste each time!
 

Canned Pork Bee Hoon (Thermomix)
5 portion bee hoon, AA brand soaked 1min
1 can stew pork chop
Water, add water to can pork gravy to full
3Tbsp dark soy sauce
Pepper

Cabbage & French beans, optional

1. Chopped garlic, 1.5Tbsp oil & veg if any
5mins, 120deg, rv sp 0.5

2. Add canned pork n water. Bring to boil
8mins, 120deg, rv sp 0.5

3. Add beehoon n dark soy sauce
5-8mins, 120deg, rv sp

Thursday, September 9, 2021

Char Kway Teow - Thermomix


Buying time for ‘Me Time’ during school holidays! Having 1-dish meal for lunches is the best way! 

Been wanting to fry kway teow and decided to put into action today. I was doing laundry while cooking lunch at the same time. This buys me 30mins to do a short HIIT and yet able to serve a homecooked meal for the kids! Youngest boss said its good and went for second helping! Mummy’s heart is happy secretly 🙊

Of cos this minus the wok hey from the wok but it spares me a greasy kitchen to clean up. Yet I can have homecooked meals for my family and still buys extra 30mins to self love by doing a short workout. Amazing gadget I ever invest in! 


Ok, cos I am a visual person. I had to do a short video to show steps by steps for this recipe. And always remember to add ur butterfly whisk when u fry noodles, beehoon or kway teow. (cos i always forgets and ends up with shorter pieces 😬😬)

Char Kway Teow - Thermomix (adapted frm my prev recipe)
2Pkt Kway Teow (Feeds 5 adult)
2-3 Tbsp Dark Soy sauce
1-2 Tbsp Light Soy Sauce
3-5 Tbsp Sweet sauce
200g pork belly, cut into strips
1pk xiaobaicai
3cloves of garlic
1Tbsp cooking oil
1 egg

1) Add garlic to mixing bowl - Turbo 2s for 2 times
2) Add cooking oil to garlic - 3mins, varoma, rv sp
3) Meanwhile, pour hot water on kway teow and loosen them up. Pour away the water and add dark soy sauce, light soy sauce and sweet sauce and mix well. Put aside
4) Add pork belly - 5mins, varoma, rv sp 0.5
5) Add Veg - 3mins, varoma, rv sp
6) Remove cooked ingredients. Add butterfly whisk and pour in kway teow - 3mins, varoma, rv sp
7) While cooking, drizzle in beaten eggs and add in cooked ingredients. (You can stop midway to help toss the kway teow more evenly)
Serve warm!

Tuesday, September 7, 2021

Yakisoba - Thermomix


Because the gal is watching some jap manga, some jap anime so she asked me, Mummy u know what is Yakisoba? Do you knw how to cook it? I told her I nvr tried before but will try to cook it for her if she wants to have a taste. And so, I got to work! 
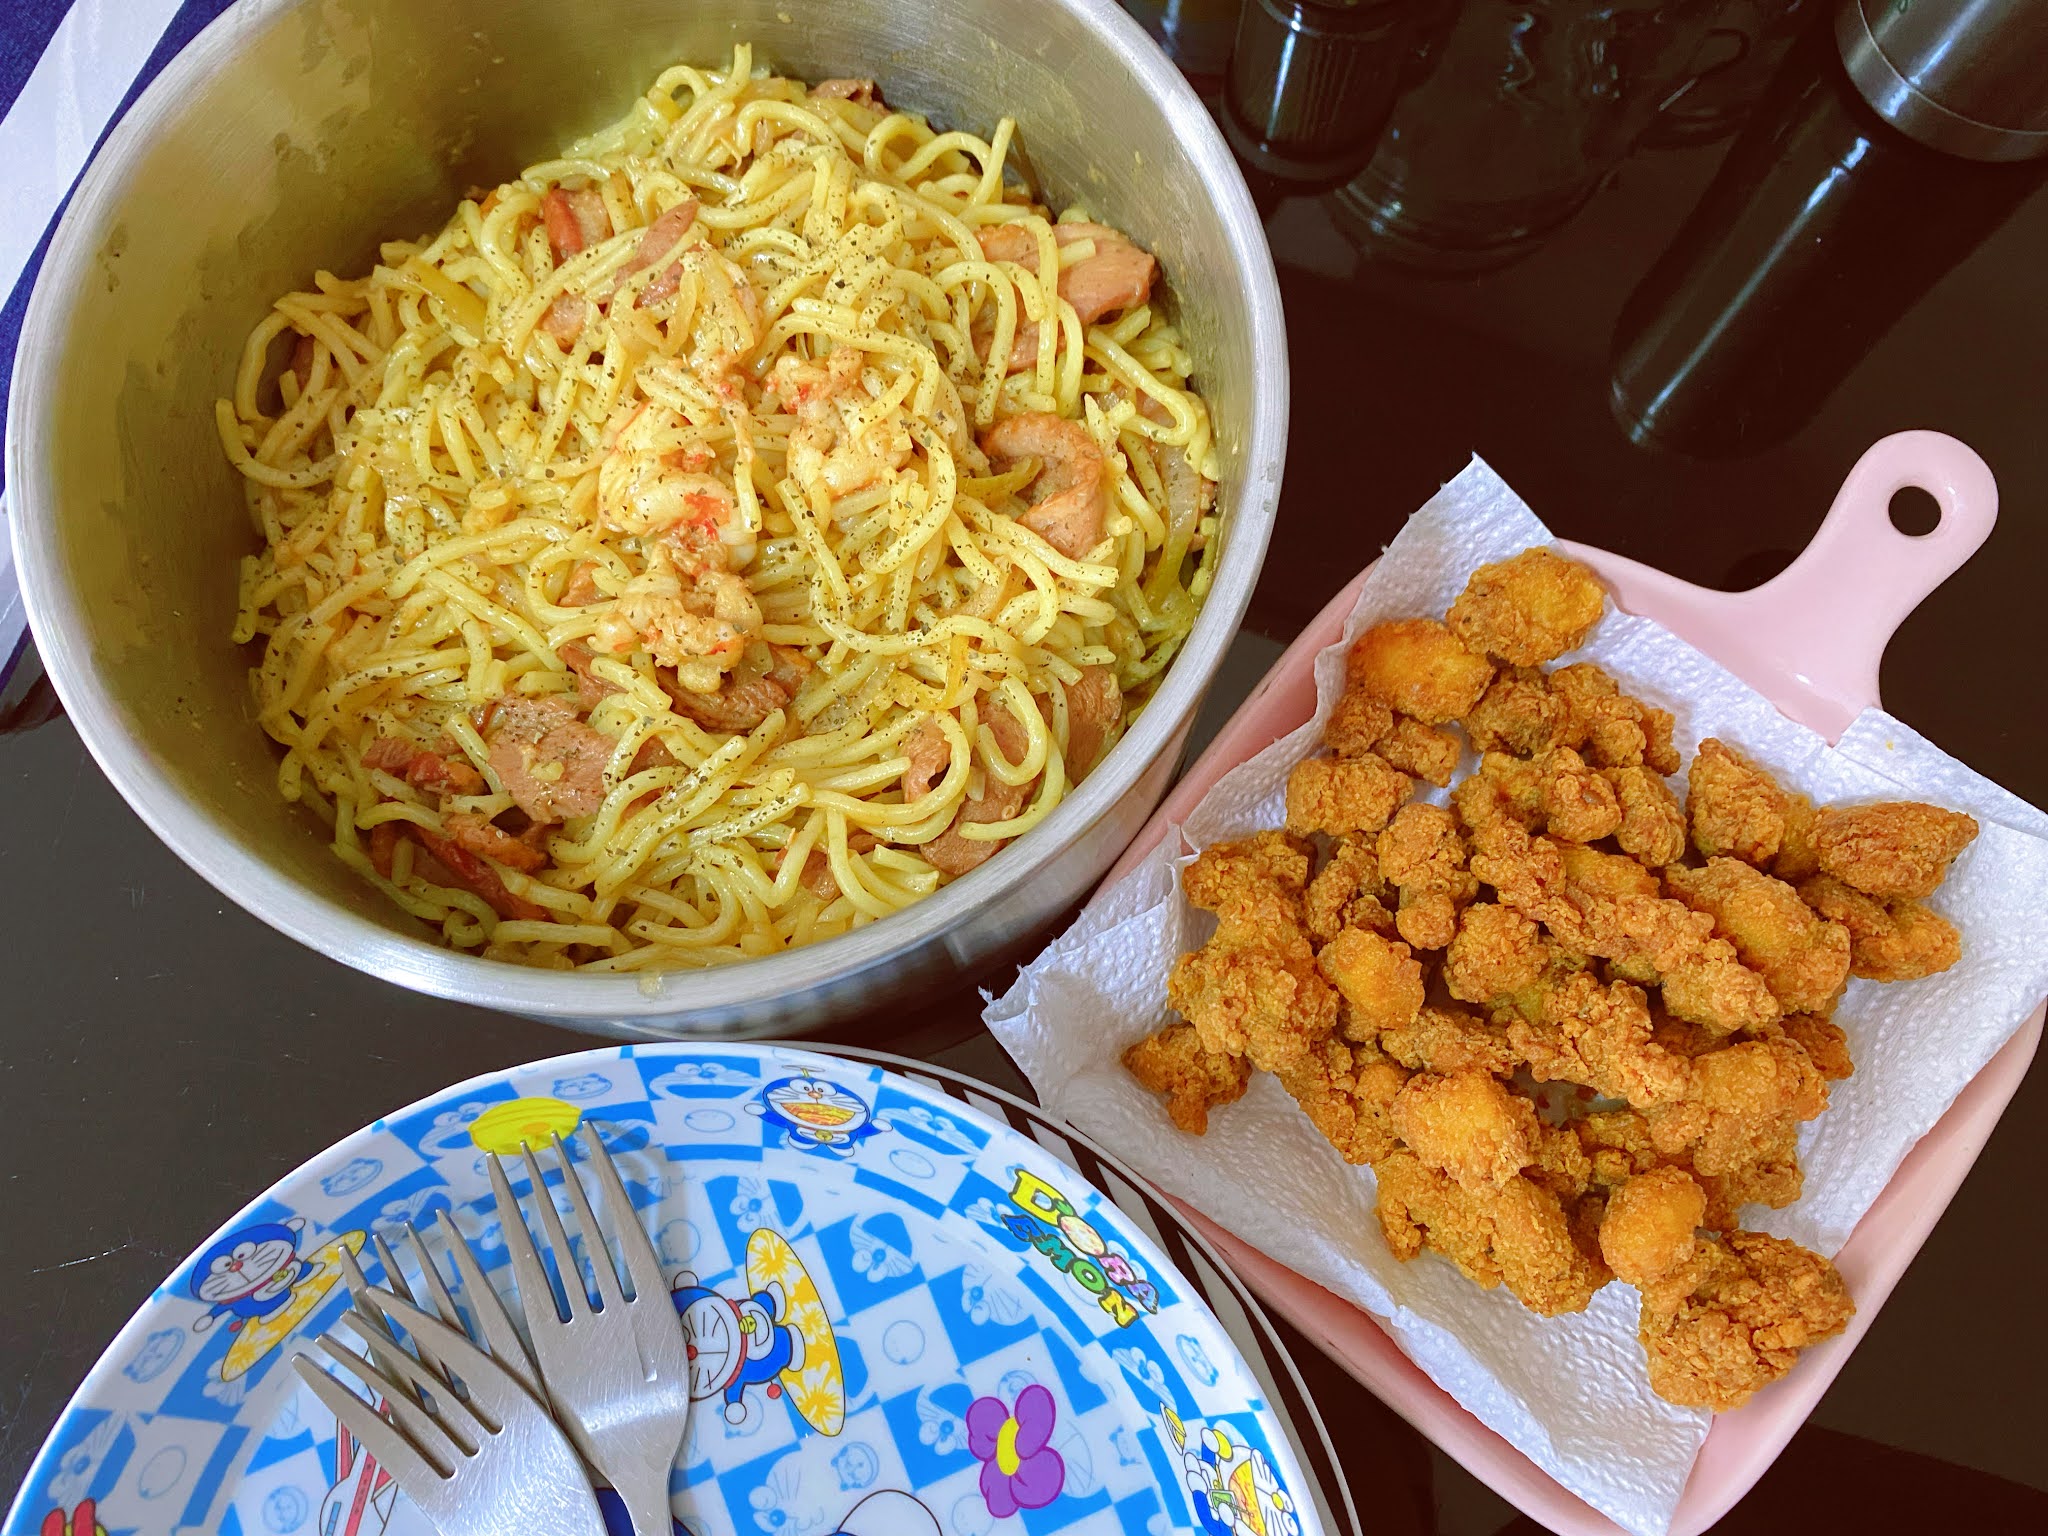
I search cookidoo and found out that IT INDEED HAS A SHRIMP YAKISOBA RECIPE! Decided to add smoked duck since they love it. Jus a simple version would do the job I supposed. 🙊


And yes, its quick and delicious. But noodles wise, probably we would love to use angel hair next round. 😋😋 Made a simple lunch for everyone today! The 3 portion noodles got us a fair share each! 

Yakisoba - Thermomix (adapted from Cookidoo)
3portion Noodles
1 smoked duck
6 tiger prawns, halve
1/2 onions
sesame oil
oyster sauce


1) Bring water to boil - 15mins 100deg sp1
2) Add noodles in to blanch for 3-5mins once water is boiling. Drained and set aside
3) Add sesame oil, onions - 5mins 120deg rv sp1
4) Add prawns and smoked duck - 3mins 120deg rv sp
5) Add in noodles and toss them slightly - 1min 100deg rv sp 
(i stopped at 30sec and help to toss the noodles evenly)

Saturday, May 29, 2021

Tomato Campbells Fusilli


Decided to make a quick lunch as brain cells going dead from all the meals cooking. Decided to cook this since the kids super love their pasta in this version! 


Made this version with some tomato puree as worried it is too creamy for grandma. Surprisingly she ate all without hearing any comments from her 🙈 Kids totally gave thumbs up as usual! I serve with chilli flakes for grandma, grated parmesan for kids and tobasco for me and hub 😍


As easy as ABCs... Enjoy!

Tomato Campbells Fusilli
1 can campbells soup
3 sausages, slices
Meatballs
*using campbell soup can to measure*
1 can tomato puree
2 can fresh milk
2.5can fusilli

1) Put all ingredients in pot. Do a quick stir.
2) Pressure cook x 2mins, natural release 5mins. Quick release if there is still pressure
3) Serve with grated parmesan and chilli flakes

Friday, May 14, 2021

Tomato Fish Rice (Pressure cook)


Simple fast meal for lunch. Jus making our favourite Tomato rice which I haven made so long!! 

Add some sutchi fish slices and serve with frozen chicken steak. ❤️ Lazy meal when mummy’s mind is so distracted 😔 Stay safe everyone! 


Tomato Fish Rice (Pressure cook)
2cups rice
2cups water
Sutchi fish slices, can replace with other fish
2 Tomatoes
Sesame oil, pink salt & parsley flakes to season

1) Wash n rinse rice in pot. Add water to 2 cups marking
2) Arrange ingredients on top n cover lid. Pressure cook x5mins and natural release 10mins. Quick release if there is still pressure after. 
3) Fluff rice n smash tomato to combine with rice. Drizzle in sesame oil, pink salt n parsley flakes. Stir well. 

Thursday, May 13, 2021

Mushroom Fish Soup (Hot & Cold Blender)


A simple soup to try out the Hot & Cold Blender! Oh I love it! I haven read the manual but anyhow explore 🙈 And I dunno if I am right or wrong, but when I used the Cook mode, pressing on the Temp buttons while cooking, pauses the cooking mode. Thats when I added in my ingredients! 


I still used my Ninjafoodi for cooking the rest of the dinner. Pressure cook the fish, rice and warming up the briyani from my neighbour! So yummy! So kids had this simple soup along with Sesame Furikake Jap rice! ❤️


Simple to use but only flaw I felt it had was I need muscle arms! 💪🏻💪🏻


Mushroom Fish Soup (Hot & Cold Blender)
4cup Water
1Tbsp Homemade chicken powder
3 Portobello mushroom
1 Tomato
Fish slices
Crab claws
Spinach
Shallot oil to taste

1) Put water in jar. Add tomatoes, mushrooms n chicken powder. Switch on, Press cook, High Temp and let it cook. 
2) I press on ‘High’ button after 10mins, and add in fish slices. Press ‘High’ again n resume cooking for another 5mins.
3) Press ‘High’ again and add in spinach then cook for 3mins. Stop machine and scoop out on serving bowls. 
4) I added in some crab claws and cook on High for 10mins. Serve with soup earlier. 
(Last min decision to add them 🙈)

Tuesday, May 11, 2021

Foodi Hack - Kimchi Pork Bowl (Pressure cook)


Simple dinner of 2 choices today! Using back the bulgogi beef recipe previously and adding on this kimchi pork for adults and non-beef eater. Easy peasy and a meal is done!


Kids are served with an extra toppings of furikake. Yums! If u keen to know the recipe for Bulgogi beef, click here


Enjoy the weeknight dinner 🤞🏻

Kimchi Pork Bowl
300g Pork Shabu, cut smaller
1/2 onions, slices
1pk single serve kimchi
1Tbsp gochujang
1Tbsp mirin

1) Marinate all the above for 2-3hrs.
2) Add 3 cup water to pot. Set up bulgogi beef and kimchi pork in the shallow trays, followed by rice on top.
3) Pressure cook x8mins and natural release 10mins.
4) Pour away water and rinse. Fill will 2 cups water. Sautemode Hi, bring to a boil and blanch vegetables. Serve with rice and choice of meat. 

Sunday, May 9, 2021

Peanut Century Egg Pork Porridge (Pressure cook)


Decided on simple lunch for everyone since dinner we be ordering in some zichar. 


Minimal effort and easy cleanup after. Served along with some frozen hei zhao that I heat up b4 cooking the porridge. Happy Mother’s Day to all the mummies ❤️


Peanut Century Egg Pork Porridge (Pressure cook) 
1cup rice
8cup water (mix with 1 can abalone water)
5-6 dried scallops
1/2bowl peanuts
1/2 garlic
2 small pc ginger
1/4bowl wolveberries
1 century egg
1 egg
200g minced meat (marinate sesame oil, pepper, huatiao, light soy sauce n cornflour)
shallot oil to taste

1) Rinse and put everything in pot, except minced meat, eggs, wolveberries. Sautemode Hi n bring to simmer
2) Add minced meat then pressure cook for 15mins n natural release 15mins
3) Quick release if needed then sautemode hi n bring to simmer. Add century egg n stir in egg. Drizzle with shallot oil n serve ❤️

Saturday, May 8, 2021

Foodi Hack: BBQ Salmon + Egg


Initially wanted to pressure cook rice below with salmon n kailan. Then finish off by grilling the salmon with some mayo n cheese. Lazy mama decided to just steam everything and add a Steamed egg for everyone 😅


Surprisingly Steamed bbq style salmon is not bad. Quite mildy bbq flavoured which is not overly salty. I would give it a pass since they kids didnt complain. 😅😅


Closeup of the dishes tonight. So colourful! 


Took me 35mins max to cook the salmon, egg and rice then finish off with blanching the kailan dish. A complete meal is ready for Dinner! Time to think about tml! What are you all having on Mother’s Day? 

Steamed BBQ Salmon
500g Salmon
2Tbsp BBQ sauce
1tsp Italian herbs
Black pepper
Lemon juice

1) Rinse n pat dry salmon. Marinate with above seasoning for 1hr or more
2) Place salmon on tray, stack on top with steam egg mixture then rice. 
3) Add 3 cups of water, add tingkat in and pressure cook x 8mins, natural release x 10mins

Blanched Oyster Kailan
1 pkt Kailan
2Tbsp oyster sauce
1/2cup Hot water
1Tbsp shallot oil

1) Pour away water from pot and rinse. Add about 2-: cups water. 
2) Sautemode Hi, bring water to boil. Blanch kailan n put on plate.
3) Mix above sauce n drizzle over. Garnish with shallots

Monday, May 3, 2021

Foodi Hack - Potato Chicken


Another fuss free meal. Wrong veg cos withered, but potato chicken was yums! Family comfort food ❤️


Love this dish so much that everyone had a great dinner!  the potatoes was soft enough but prehaps the carrot can be smaller as it was slightly too crunchy for my liking. Other than that, tastewise is perfect 😋


Potato Chicken (Tingkat Pressure cook)
2 Chicken breast
1 Carrot
2 Potatoes
2Tbsp oyster sauce
1Tbsp dark soy sauce
1tsp sesame oil

1) Cut chicken into thin slices and marinate with above. 
2) Prepare and cut carrots n potatoes and lay into bottom tray. Stir in marinated chicken
3) Add 3 cups of water n Pressure cook x 8mins with rice and natural release or keep warm til dinner 

Foodi Hack: Steamed Egg Tofu w/shrimp paste, abalone & ladyfingers


Another ‘magic’ dinner ❤️ Back took so long and still not well 🤦🏼‍♀️ Simple steamed fish with the tofu dish is wholesome enough for us


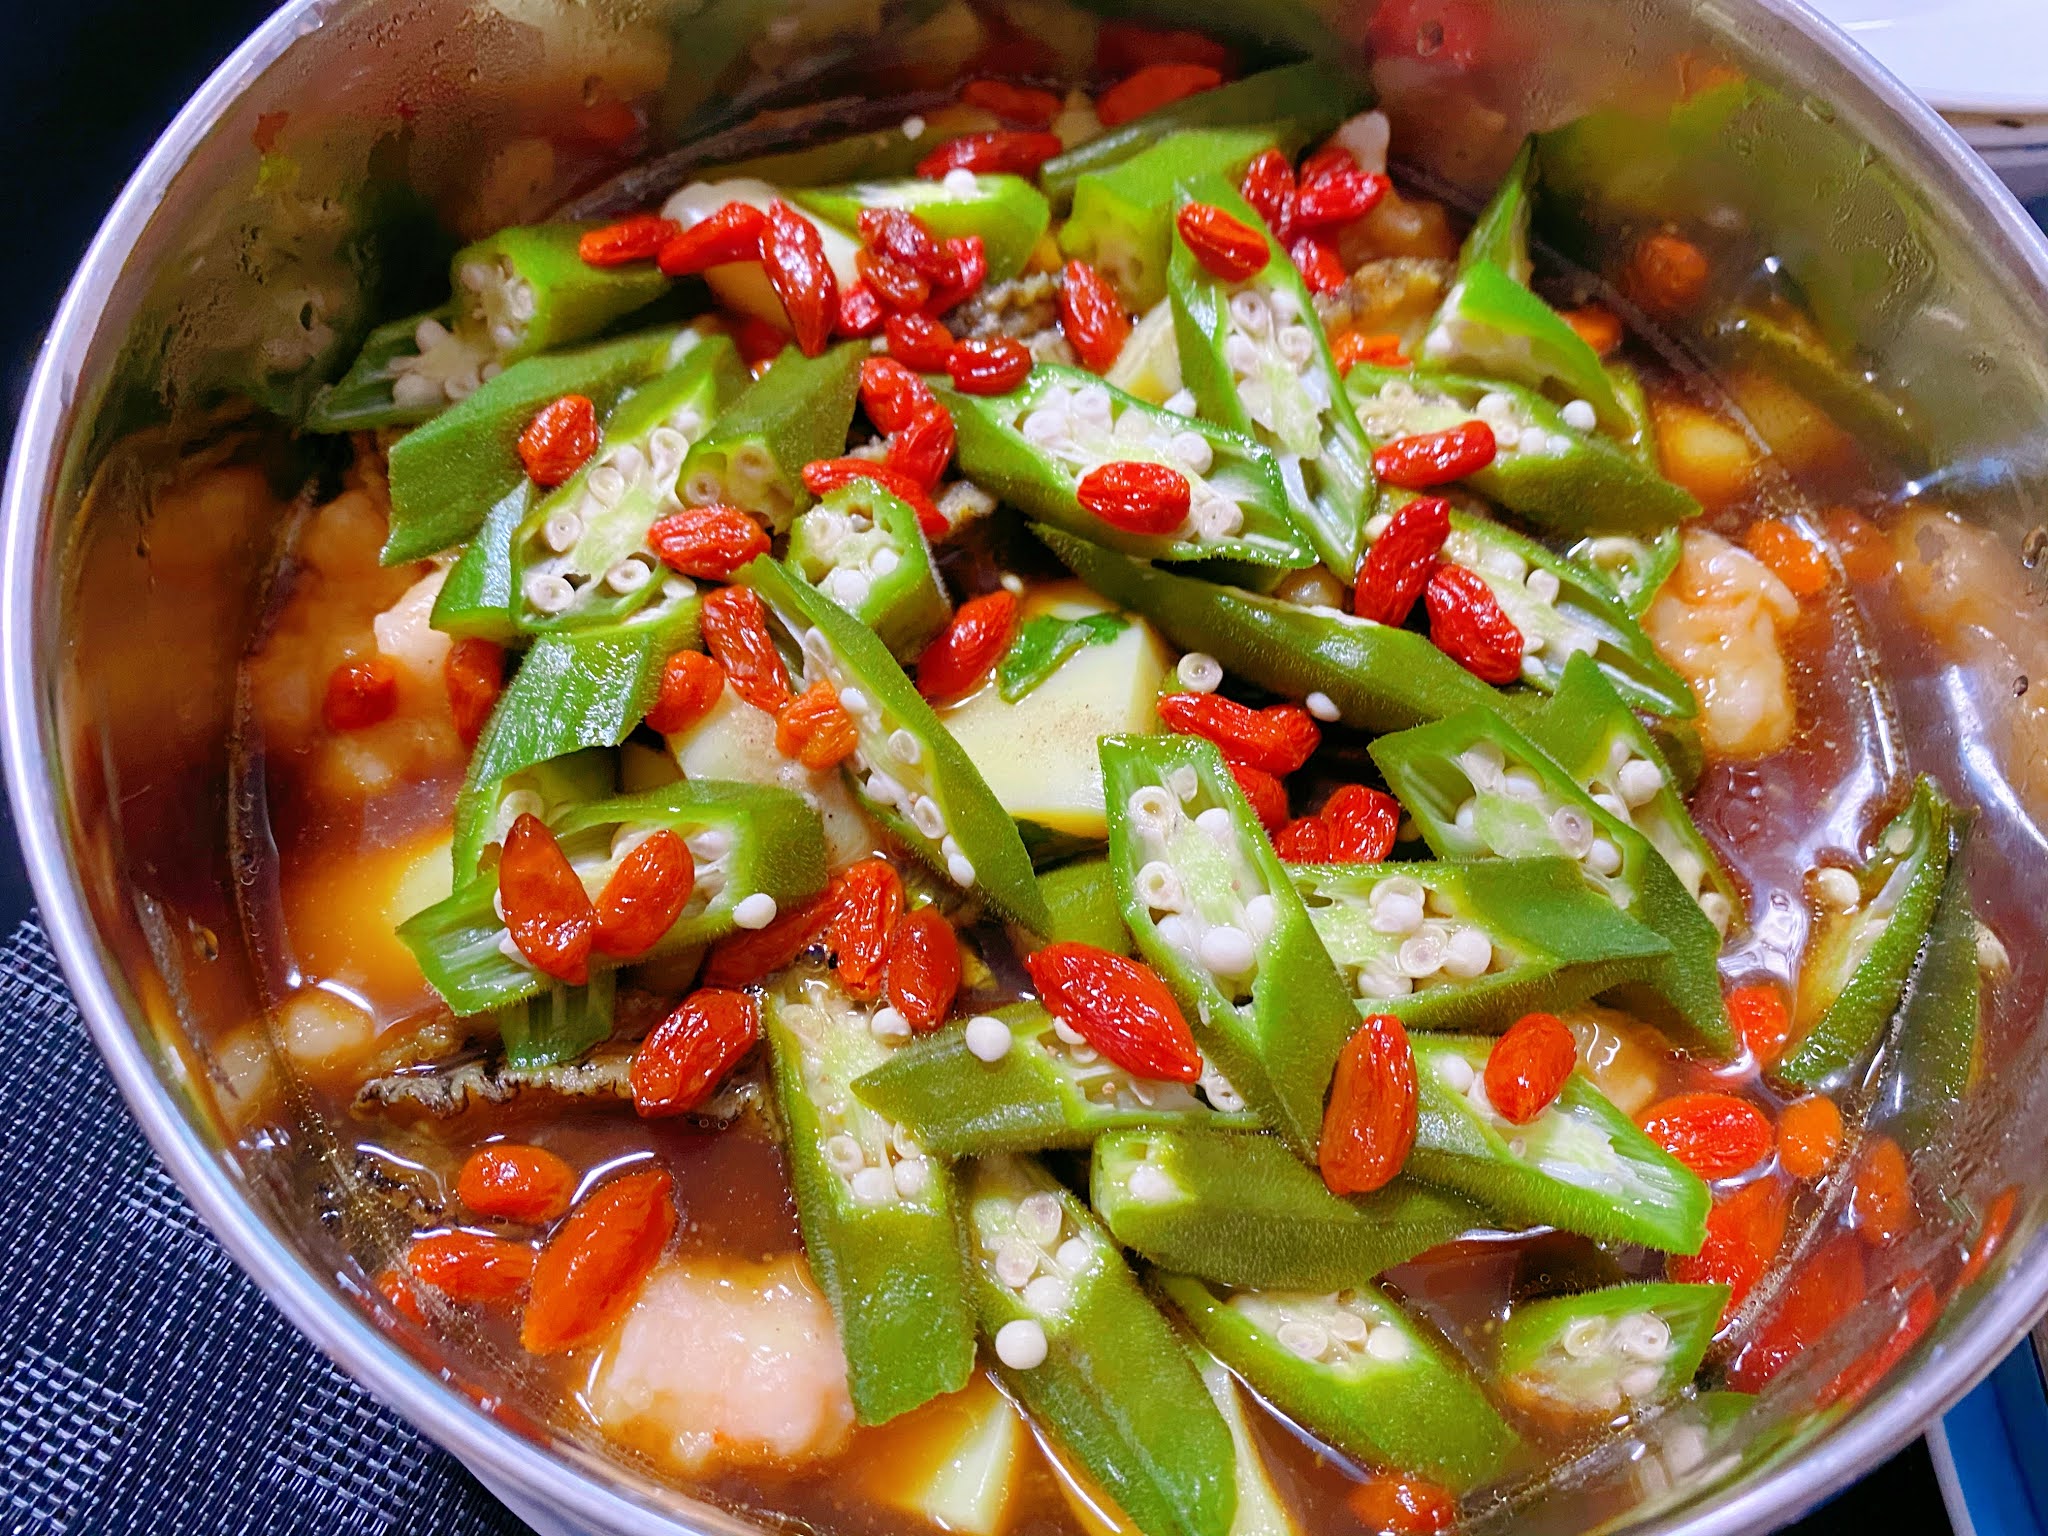
This is how it actually looks like. Its very flavourful with all the sweetness from the shrimpaste n abalones! Added wolveberries for eye power 👀👀 Halfway eating, my #2 asked, Mummy can i have all the abalone 😅😅

Steamed Egg Tofu w/shrimp paste, abalone & ladyfingers
2 tube egg tofu
1pk 150g shrimp paste
8 baby abalone
ladyfingers
wolveberries
2Tbsp dark soy sauce
1tsp sesame oil
1Tbsp oyster sauce, dilute with 5Tbsp water

1) Prepare ingredients and lay tofu in first. Slot shrimp paste & abalone in between tofu
2) Add ladyfingers in top n sprinkle wolveberries.
3) Drizzle in seasonings
4) Stack (bottom or middle) with the rest of dishes. Add 3 cups water, pressure cook hi x7mins n keep warm til dinner (approx 15mins at least)

#priscillamay #tingkat

Wednesday, April 28, 2021

Creamy Macaroni (Pressure cook)


My secondborn loves mac and cheese but i feel that mac and cheese is always nicer when eating straight out of the oven after baking, therefore decided to use campbell soup and make a creamy macaroni for recess. Added in some greens and proteins! 


Use simple ingredients that I have at home. Easy peasy prepare them the night before and only need to throw them in the pot. All it takes is 10mins and you get a pot of creamy macaroni ready for school! 🥷


Ready for school ❤️


This is how easy it is! Jus throw, close and stir! 😍

Creamy Macaroni (Pressure cook)
1cup macaroni
1can Campbell Soup (I use cream of chicken)
1.5can Milk (using the can for the soup)
100g beef shabu, cut smaller
Brocolli
Carrot
Frozen corn kernels

1) Put ingredients into pot and spread them out. Then pour in milk and canned soup. Stir them up and break up the beef slices too. 
2) Pressure cook on Hi x 2mins and natural release 5mins. After that quick release if there is still pressure
(Macaroni suggested cooking time is 8-10, so I use 8mins/2 then minus 2)
3) Stir well to combine the macaroni. Ready to eat!