Using Golden churn this round, mild buttery taste. Sweetness just nice with the reduced amount! Love ❤️❤️❤️ Bringing them to family gathering to share...
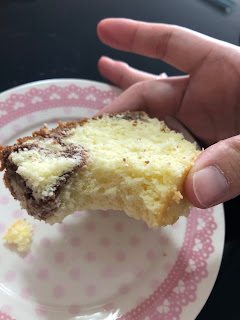
Couldnt resist and took a taste test.. Mmmmmmm 😋😋
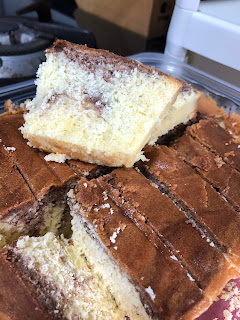
Mrs NgSK Butter Cake
(Recipe as per previous post, with updated modifications)
Egg whites :
4 Whites
50g Sugar
Cake Batter:
230g Butter, room temp
80g Sugar
4 Yolks
1Tsp Vanilla Extract/Paste
60ml Milk
200g Self-raising Flour
1) Beat whites til stiff peak, set aside
2) Beat butter and sugar til light and fluffy
3) Add yolks 1 by 1 and mix well after each addition. Add vanilla paste.
4) Add 1/3 Flour, mix well. Add milk in 2 addition, alternate with flour. Mixing well after each addition.
5) Add in half whites and mix til no streaks. Then pour remaining whites and mix well.
6) **I took 2Tbsp of batter and added 1Tbsp cocoa powder and mix** Pour remaining batter into baking pan and level.
7) Scoop cocoa batter onto top of cake batter and make swirls. Bake for 45mins at 170deg or til skwer comes out clean and top is browned!